
Halloween Chocolate Covered Apple Pops Recipe
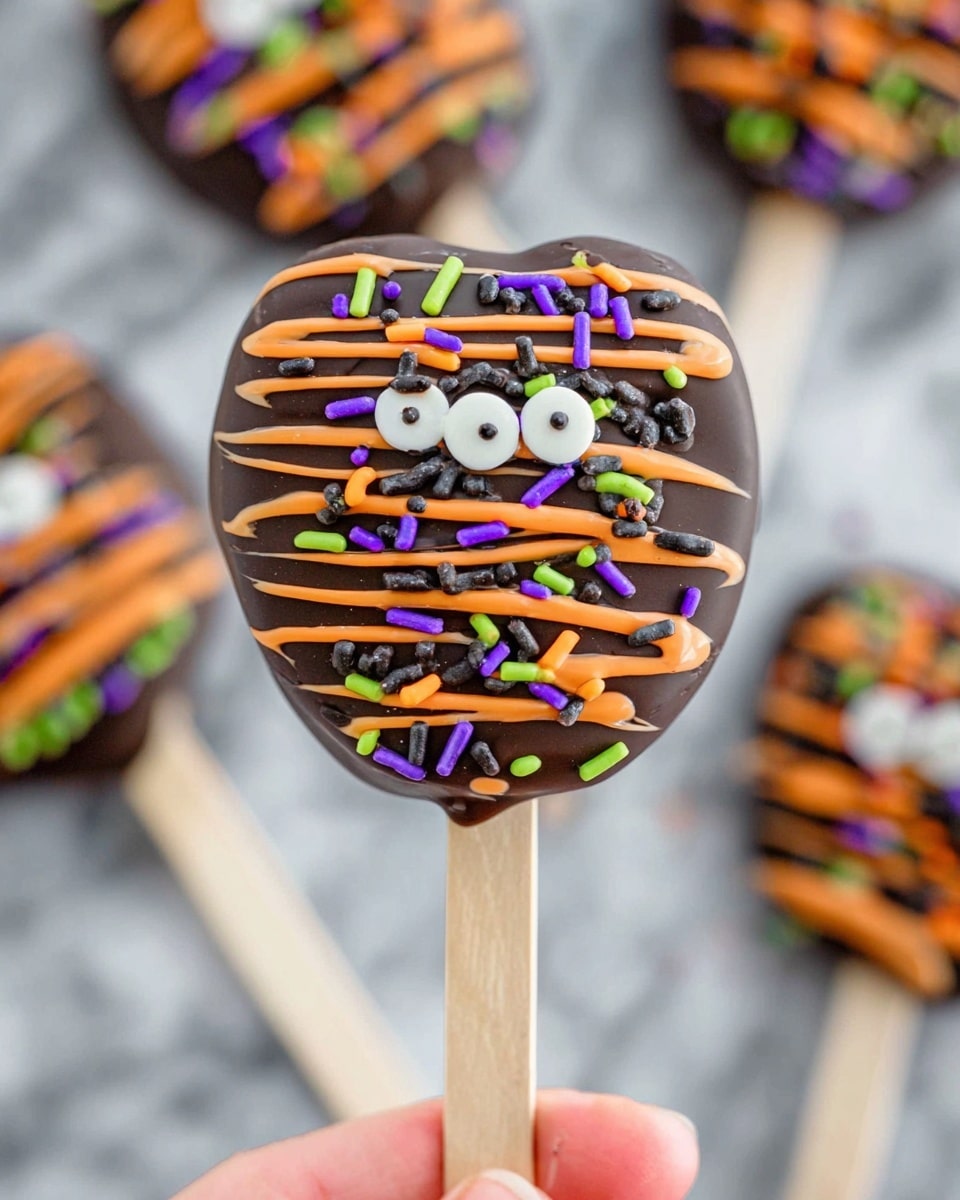
If you’re hunting for a festive treat that’s as fun to make as it is to eat, this Halloween Chocolate Covered Apple Pops Recipe is going to blow your mind. These delightful little apple slices, dipped in rich dark and vibrant orange chocolate, then decorated with spooky sprinkles, are the perfect blend of sweet, tart, and totally Halloween-themed. Trust me, once you try these, they’ll be the star of your party — or your cozy night in with family. Ready to wow your taste buds and impress your friends? Let’s dive in!
Why This Recipe Works
- Perfect Balance of Flavors: The tart Granny Smith apples pair beautifully with the smooth, rich chocolate, creating that irresistible sweet-and-sour combo you love.
- Easy, No-Bake Fun: You don’t have to be a pro to nail this recipe – it’s straightforward yet yields impressive, festive results every time.
- Customizable for Your Crowd: With options to mix up chocolate colors and toppings, you can make these apple pops your own spooky masterpiece.
- Great for Parties & Gifts: They’re perfect for handing out to kids or serving at Halloween get-togethers, making your celebration that much sweeter.

Ingredients & Why They Work
This Halloween Chocolate Covered Apple Pops Recipe combines simple ingredients that work beautifully together — crisp Granny Smith apples, creamy melting wafers in seasonal colors, and festive sprinkles. Using melting wafers makes coating easy and smooth, so you get that lovely even layer of chocolate that sets beautifully.
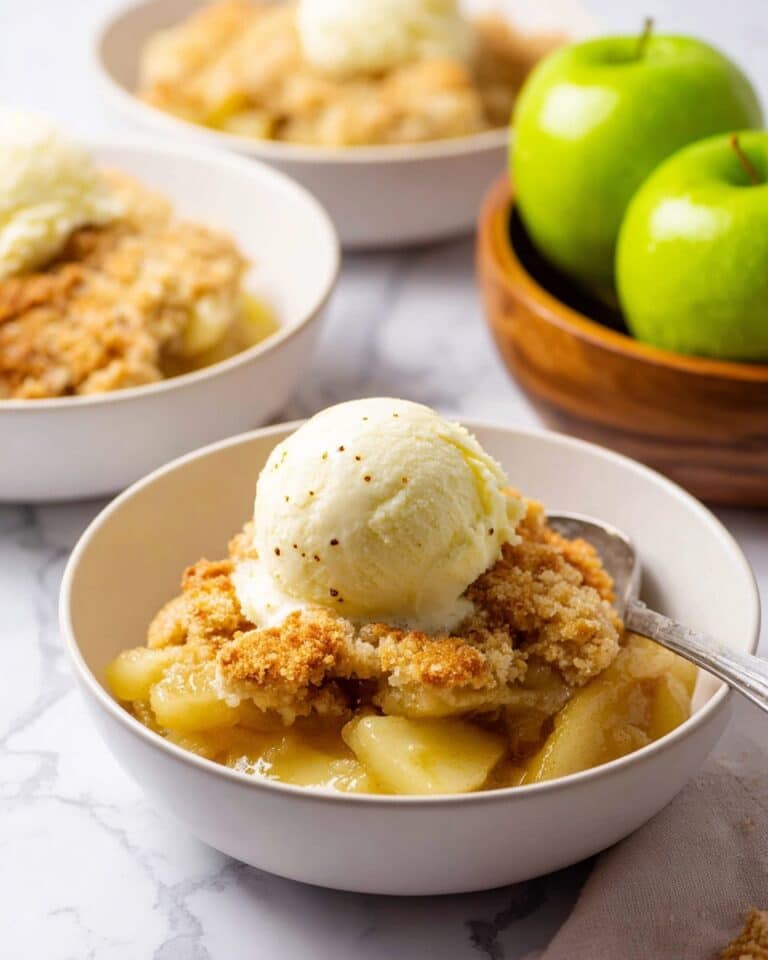
- Granny Smith apples: Their tart, firm flesh holds up well for dipping and balances the sweetness of the chocolate.
- Dark cocoa melting wafers: These provide rich chocolate flavor and melt smoothly for an easy dip.
- Orange melting wafers: Bright and festive, they add that perfect Halloween color and contrast against the dark chocolate.
- Halloween sprinkles: The fun, finishing touch—they make these apple pops festive and irresistible!
Tweak to Your Taste
I love experimenting with toppings and chocolate colors in this recipe — feel free to customize to your heart’s content! Whether you’re making these for kids or adults, there’s plenty of room to make these apple pops your own.
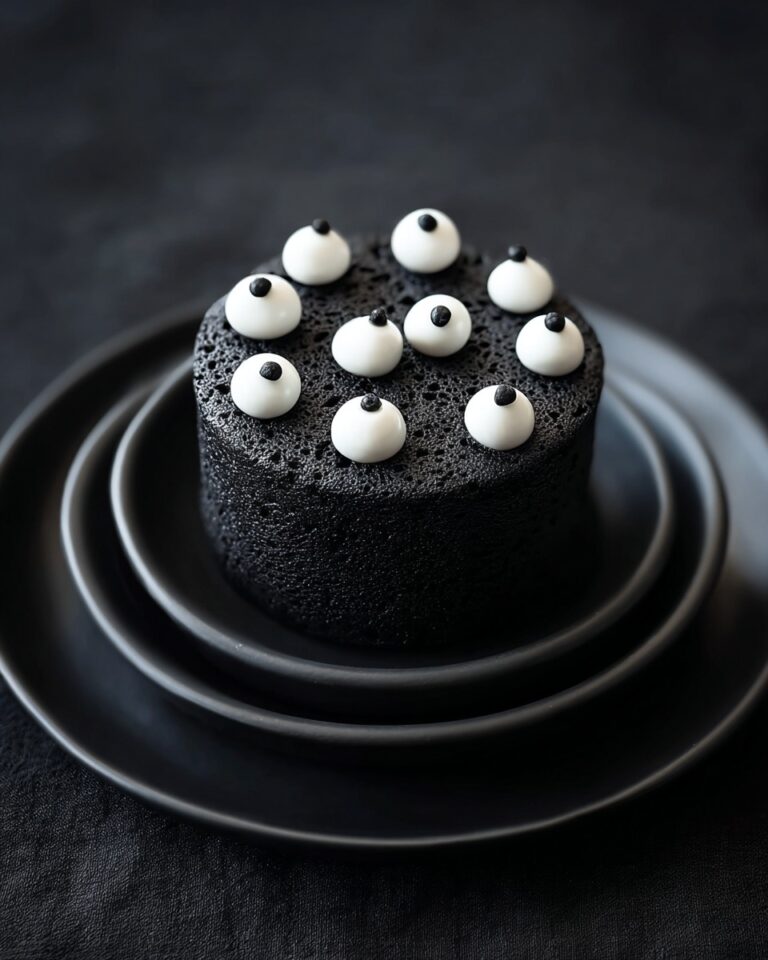
- Variation: I once added crushed Oreos and mini marshmallows to some apple pops for a fun “monster” theme — guests went wild over the textures!
- Dietary Twist: If you want to keep it dairy-free, look for vegan or dairy-free melting wafers; they work just as well.
- Seasonal Switch: Try white chocolate wafers with green sprinkles for a “witchy” vibe, or red candy melts for a spooky blood effect.
Step-by-Step: How I Make Halloween Chocolate Covered Apple Pops Recipe
Step 1: Prepare Your Apples Like a Pro
Start by cutting each Granny Smith apple into 4 slices, avoiding the core to keep things crispy — I slice mine just under half an inch thick. Thin slices can get limp, and thicker ones won’t let the popsicle stick sit nicely, so finding that perfect thickness is a game-changer. Once sliced, carefully push a popsicle stick into the center of each apple slice. If the stick won’t go in smoothly, it usually means the slice is either too thin or the apple isn’t fresh enough. Pro tip: brush apple slices lightly with lemon juice to keep them looking fresh and prevent browning while you work.
Step 2: Melt Your Chocolates Separately
Pop your dark cocoa and orange melting wafers into separate microwave-safe bowls. Microwave each for 2 minutes, then stir. Continue melting in 30-second bursts until smooth and fully melted, stirring well between each. This slow melting method prevents burning — trust me, it’s worth the patience. If the chocolate feels too thick, stir in a teaspoon of crisco; it thins the chocolate without changing flavor, giving that silky, perfect dip.
Step 3: Dip and Drizzle for Maximum Fun
Take an apple pop and dip each side into the dark cocoa chocolate, making sure to coat it fully. Next, grab a spoon and drizzle orange chocolate over the coated apple pop — this step adds the festive flair and playful contrast. Don’t forget to immediately sprinkle with Halloween-themed decorations. Place the pop on parchment paper or a wire rack to set. Repeat until you’ve covered half of your apple pops in this way.
Step 4: Reverse the Colors for a Spooky Twist
Now, dip the remaining apple pops in the orange melted chocolate, and drizzle the dark cocoa one on top. Again, finish with your Halloween sprinkles to seal the deal. This fun reversal keeps your platter visually exciting and makes for a delightful burst of flavor in each bite.
Step 5: Let Them Set and Enjoy!
Once all your apple pops are dipped and decorated, let them set completely at room temperature — about 15 minutes usually does the trick. If you’re impatient like me, pop them in the fridge for a few minutes (but not too long, or the apples might get chilly and dull the flavors). Then enjoy the magic — these apple pops always disappear fast in my house!
Pro Tips for Making Halloween Chocolate Covered Apple Pops Recipe
- Prep Ahead: Have all your toppings and ingredients ready before slicing apples to prevent browning and keep things moving smoothly.
- Secure Your Sticks: If sticks slip when pushing into apple slices, dab a tiny bit of melted chocolate on the apple, then press the stick in to anchor it before coating.
- Dry the Apples: Pat apple slices dry with a paper towel before dipping to help the chocolate adhere better — wet apples can cause clumpy chocolate or sliding coatings.
- Play with Toppings: Beyond sprinkles, try mini chocolate chips, chopped nuts, or even shredded coconut for delightful textures and spooky effects.
How to Serve Halloween Chocolate Covered Apple Pops Recipe
Garnishes
I usually stick with classic Halloween sprinkles since they add that perfect pop of color and festive fun. But sometimes I like to add mini chocolate chips or crushed nuts for extra texture. A pinch of edible glitter can also elevate these apple pops to party-star status!
Side Dishes
For a truly sweet-and-savory spread, I’ll pair these apple pops with caramel popcorn, roasted pumpkin seeds, or even a cheese board full of fall favorites. It balances out the sweetness and keeps everyone happy.
Creative Ways to Present
One of my favorite ways to present these is to arrange them in a Halloween-themed bouquet inside a painted mason jar filled with candy corn or colorful pebbles to keep the sticks upright. Another cute idea is setting them upright in a foam block wrapped with Halloween fabric for a party centerpiece that doubles as a snack station!
Make Ahead and Storage
Storing Leftovers
These apple pops are best enjoyed the same day you make them because the apples start to lose their crispness. But if you have leftovers, store them in an airtight container in the fridge for up to 24 hours. Just know the chocolate might sweat a little, so it’s best to serve at room temperature before eating.
Freezing
Freezing these isn’t ideal since apples get watery and lose texture when frozen and thawed. I don’t recommend freezing because it changes the fresh crunch and chocolate coating texture, but if you try it, wrap individually in plastic wrap and freeze for up to a week.
Reheating
Since these are cold treats, reheating isn’t needed or advised. Instead, just let refrigerated apple pops sit out for about 10 minutes to lose the chill and regain their best flavor and texture before enjoying.
FAQs
-
Can I use other types of apples for the Halloween Chocolate Covered Apple Pops Recipe?
Absolutely! While Granny Smith apples offer a perfect balance of tartness and firmness, you can substitute with Fuji, Honeycrisp, or even Gala apples. Just keep in mind that sweeter apples may make the pops taste less tart, and softer apples might be a bit trickier to insert sticks into without them becoming limp.
-
What if my chocolate seizes or gets too thick?
If the chocolate appears grainy or thick, gently stir in a small amount of shortening like crisco (about a teaspoon at a time) to smooth it back out. Also, avoid overheating in the microwave by using short increments and stirring frequently.
-
How can I prevent the apple slices from browning before dipping?
Brushing each apple slice with lemon juice or lime juice is your best friend here! This citrus bath slows oxidation and keeps those slices looking fresh while you prepare the chocolate and assemble your pops.
-
Can I make these ahead for a party?
You can prep them a few hours ahead and refrigerate, just bring them to room temperature before serving for the best flavor. Just avoid making them too far in advance — the apples lose their crunch and look over time.
-
What’s the best way to melt the chocolate?
Melting in the microwave in short bursts (30 seconds at a time) and stirring in between is the easiest method. You’ll avoid burning the wafers and get that perfectly smooth dip. Double boilers work great too if you prefer that method.
Final Thoughts
This Halloween Chocolate Covered Apple Pops Recipe is such a fun, festive way to bring a little spooky sweetness to your celebrations. I remember making these with my kids last Halloween, and the joy on their faces when they saw their decorated treats was priceless. Plus, they’re easy enough for everyone to get involved and creative. Next time you want to impress your friends or treat your family, give these apple pops a try — you’ll be so glad you did!
Print
Halloween Chocolate Covered Apple Pops Recipe
- Prep Time: 20 minutes
- Cook Time: 0 minutes
- Total Time: 35 minutes
- Yield: 20 servings
- Category: Dessert
- Method: No-Cook
- Cuisine: American
- Diet: Vegetarian
Description
Halloween Chocolate Covered Apple Pops are a fun and festive treat perfect for spooky celebrations. Tart Granny Smith apple slices are dipped in rich dark cocoa and bright orange melting wafers, then decorated with colorful Halloween sprinkles for a delightful combination of crisp fruit and creamy chocolate coating. These apple pops are easy to make, visually appealing, and great for kids and adults alike.
Ingredients
Apples
- 5 medium/small Granny Smith apples
Chocolate Coating
- 12 ounces dark cocoa melting wafers
- 12 ounces orange melting wafers
Toppings
- Halloween sprinkles
Instructions
- Prepare the apples: Cut each apple into 4 slices, avoiding the core, making slices slightly less than 1/2 inch thick. Carefully insert a popsicle stick into the center of each apple slice to create the apple pops. Ensure the slices are not too thin for the sticks to hold firmly.
- Melt the chocolate wafers: In separate microwavable bowls, melt the dark cocoa and orange melting wafers for 2 minutes each, stirring well. Continue to melt in 30-second increments with stirring between until fully melted and smooth.
- Dip and decorate first half: Dip each side of an apple pop into the melted dark cocoa chocolate, then use a spoon to drizzle orange chocolate over it. Top with Halloween sprinkles.
- Set the chocolate: Place the dipped apple pops on a sheet of parchment paper or a metal rack and allow chocolate to set.
- Dip and decorate second half: Repeat the dipping process with the remaining apple pops, this time dipping them in orange chocolate, drizzling with dark cocoa chocolate, and topping with Halloween sprinkles.
- Let chocolate set completely: Place all the apple pops on parchment or a wire rack and allow them to fully set before serving.
Notes
- To prevent apples from browning, brush slices with lemon or lime juice before dipping.
- If popsicle sticks are difficult to insert, use a dab of melted chocolate to attach sticks to apple slices; allow to set before dipping.
- Dry apple surfaces with a paper towel before dipping to help chocolate adhere better.
- If chocolate is too thick, add 1 tablespoon of Crisco or vegetable shortening to thin it.
- Prepare all ingredients and toppings ahead to prevent apple slices from browning.
- Store apple pops in the refrigerator and consume within 1 day for best freshness.
- Get creative with decorations like mini chocolate chips, M&Ms, crushed Oreos, chopped nuts, mini marshmallows, or shredded coconut.
Nutrition
- Serving Size: 1 apple pop
- Calories: 150 kcal
- Sugar: 20 g
- Sodium: 10 mg
- Fat: 7 g
- Saturated Fat: 3 g
- Unsaturated Fat: 3 g
- Trans Fat: 0 g
- Carbohydrates: 25 g
- Fiber: 2 g
- Protein: 1 g
- Cholesterol: 0 mg
