
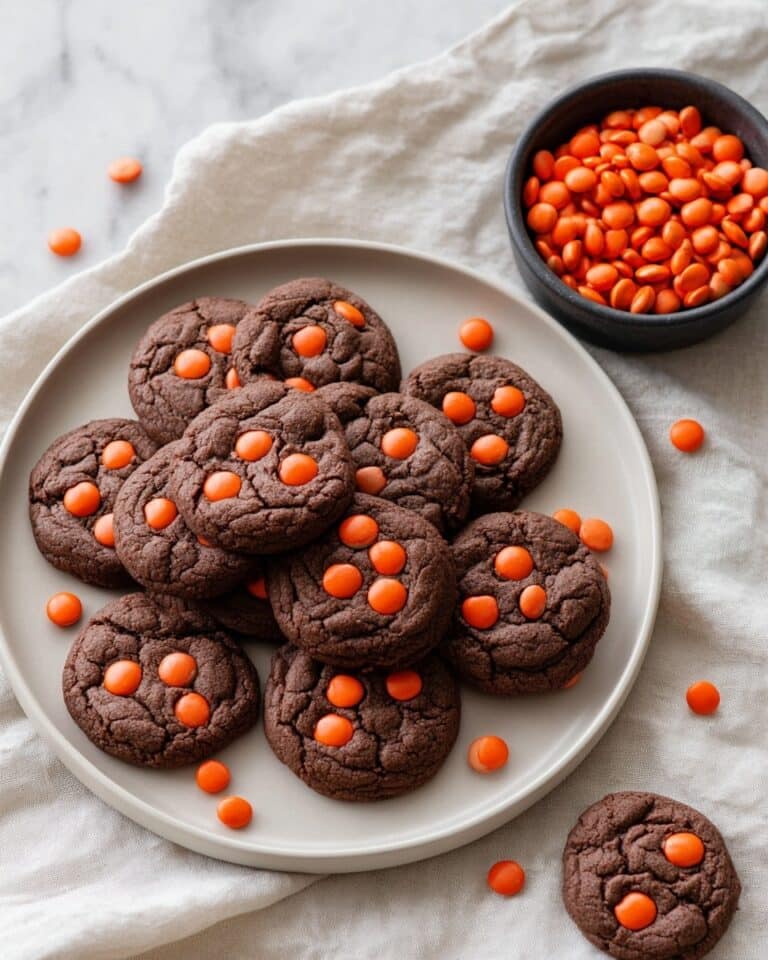
Love Bug Oreo Cookies Recipe
If you’re looking for the cutest, sweetest little treat to make this Valentine’s Day (or really any day you feel like spreading some love), then you’re going to adore this Love Bug Oreo Cookies Recipe. These charming cookies transform simple Oreo cookies into adorable love bugs with a pop of red chocolate and adorable candy eyes. Trust me, once you try this recipe, you’ll want to make these for every party, school snack, or just a fun cookie time with the kids!
Why This Recipe Works
- Simplicity: You only need a handful of ingredients, and the steps are easy enough for even beginner bakers.
- Visual Appeal: The bright red chocolate and playful candy eyes make these cookies irresistible at a glance.
- Customizable: You can swap the color wafers or sprinkles for any occasion and easily adapt the design.
- Quick Make Time: In under 30 minutes, you’ll have adorable and delicious cookies ready to impress.
Ingredients & Why They Work
This Love Bug Oreo Cookies Recipe keeps things straightforward, which I love, especially when you want a fun, crafty treat that doesn’t demand hours in the kitchen. The Oreo cookies provide the rich, chocolatey base we all know and love, while the red candy wafers give a smooth, festive coating that’s perfect for holding on your decorative touches.

- Oreo Cookies: The classic sandwich cookie acts as the perfect sturdy canvas and pairs beautifully with melted chocolate.
- Red chocolate melting wafers: These melt smoothly and set with a lovely shine—plus, the vibrant red color is perfect for that lovebug vibe.
- Royal icing eyes: These give your “love bugs” a whimsical personality with minimal effort.
- Micro heart sprinkles: Tiny but mighty, these add the perfect dash of Valentine’s Day flair and texture.
Tweak to Your Taste
One of the best things about this Love Bug Oreo Cookies Recipe is how easy it is to make it your own. I love to switch up the colors and sprinkles depending on the holiday or party theme. These cookies are a playground for your creativity, so don’t be shy to try something new!
- Variation: I’ve had great fun turning these into bumblebee cookies by swapping out the red wafers for yellow and adding tiny black sugar pearls for stripes.
- Dietary tweaks: For a gluten-free option, look for gluten-free Oreos; they work just as well without altering the recipe.
- Seasonal changes: Use different colored candy melts and themed sprinkles—green for St. Patrick’s Day, orange for Halloween—to keep this recipe versatile all year round.
Step-by-Step: How I Make Love Bug Oreo Cookies Recipe
Step 1: Prepare Your Workspace
Get your baking sheet ready by lining it with parchment paper or a silicone baking mat. This keeps the cookies from sticking and makes cleanup a breeze. Having everything prepped in advance speeds up the process since once you start dipping, things move fast!
Step 2: Melt the Red Chocolate Wafers
Place about 1 and ½ cups of red chocolate melting wafers in a microwave-safe bowl. Heat in 30-second increments at medium power, stirring gently after each. The key here is patience—stir well and keep heating a little bit at a time until fully melted and smooth. This prevents scorching and ensures a glossy finish on your cookies.
Step 3: Dip the Oreos
Grab an Oreo and dip it about three-quarters of the way into the melted chocolate. Give the cookie a gentle tap to shake off any excess coating. Then, place it carefully on your prepared baking sheet. I find using tweezers or a fork with a gentle grip helps keep your hands clean and the dip neat.
Step 4: Add Hearts & Eyes
Right after dipping, sprinkle micro heart sprinkles over the wet chocolate to mimic little speckles on their backs. Then, use a toothpick to dab a tiny bit of melted chocolate on the back of each royal icing eye and press them onto the Oreo’s chocolate-covered section. This step brings your love bug to life, so have fun with their expressions!
Step 5: Let Them Set and Enjoy
Allow your cookies to sit at room temperature until the chocolate sets completely. This usually takes about 15-20 minutes. Once firm, your Love Bug Oreo Cookies are ready to delight your friends or family.
Pro Tips for Making Love Bug Oreo Cookies Recipe
- Melting With Care: Stir the chocolate wafers gently to avoid introducing air bubbles that might dull the finish.
- Sprinkle While Wet: Add your heart sprinkles immediately after dipping before chocolate firms up for the best stick.
- Use Toothpicks: Using a toothpick to place your candy eyes gives you more precision and keeps your fingers clean.
- Avoid Overheating: Chocolate melts at low heat – microwave in short bursts and stir well to maintain smooth consistency.
How to Serve Love Bug Oreo Cookies Recipe
Garnishes
I love to keep it simple with micro heart sprinkles for that little festive touch, but if you’re feeling fancy, edible glitter or colored sugar crystals work wonderfully too. They add a sparkling effect that makes these treats stand out even more on your dessert table.
Side Dishes
These Love Bug Oreo Cookies shine as the star of the show, but I like pairing them with a fresh fruit platter or a cold glass of milk for classic cookie ‘n’ milk comfort. They’re also fantastic alongside pink lemonade or a fruity punch for parties.
Creative Ways to Present
For a Valentine’s party, I’ve arranged these cookies on a heart-shaped platter with rose petals scattered around. Another fun idea is placing them in clear cellophane bags tied with a red satin ribbon—instant cute gift that’s sure to impress teachers or friends!
Make Ahead and Storage
Storing Leftovers
Once your Love Bug Oreo Cookies have fully set, store them in an airtight container at room temperature. I’ve kept mine fresh and tasty for over a week this way without the cookies losing their crispness or the chocolate melting.
Freezing
If you want to prep ahead or save some for later, these cookies freeze beautifully. Just layer them between sheets of parchment paper in a freezer-safe container. When you’re ready to enjoy, just thaw at room temperature for 30 minutes or so.
Reheating
These cookies are best enjoyed cold or at room temperature, so no reheating is necessary. If your chocolate looks dull after storage, a quick 5-minute rest at room temp usually brings back that lovely shine.
FAQs
-
Can I use other cookie types instead of Oreos?
Definitely! While classic Oreos provide the perfect balance of crunch and cream filling, you can experiment with other sandwich cookies if you prefer. Just make sure they’re sturdy enough to dip without breaking.
-
What if I don’t have royal icing eyes?
No worries—you can use tiny edible sugar pearls, mini chocolate chips, or pipe small dots of white and black icing to create eyes. It’s a quick DIY fix that works great.
-
How do I prevent the chocolate from seizing?
Melting candy wafers slowly and stirring often keeps the chocolate smooth. Avoid any moisture—make sure your utensils and bowl are completely dry before starting.
-
Can I make these vegan or dairy-free?
Yes! Look for dairy-free Oreos and vegan-friendly candy melts. Keep in mind the texture or color might vary slightly, but the overall idea holds up nicely.
-
How long will these Love Bug Oreo Cookies stay fresh?
Stored properly in an airtight container at room temperature, these cookies will stay fresh and delicious for at least a week—plenty of time to enjoy and share!
Final Thoughts
Honestly, I can’t get enough of this Love Bug Oreo Cookies Recipe—it’s such a fun and quick way to turn a familiar favorite into something magical and festive. Whether you’re baking with little ones or just want a quick crowd-pleaser, these love bugs are the perfect answer. I hope you enjoy making and sharing these as much as I do every time they come out of my kitchen!
Print
Love Bug Oreo Cookies Recipe
- Prep Time: 5 minutes
- Cook Time: 20 minutes
- Total Time: 25 minutes
- Yield: 20 cookies
- Category: Dessert
- Method: No-Cook
- Cuisine: American
Description
Love Bug Oreo Cookies are a festive and fun Valentine’s Day treat featuring Oreo cookies dipped in melted red chocolate, decorated with royal icing eyes and heart sprinkles. Perfect for parties or gifting, these no-bake cookies are simple to make and visually delightful.
Ingredients
Cookies
- 20 Oreo cookies
Chocolate Coating
- 1 and ½ cups red chocolate melting wafers
Decorations
- Royal icing eyes
- Micro heart sprinkles
Instructions
- Prepare the workspace: Line a baking sheet with parchment paper or a silpat mat to prevent sticking and set it aside for the decorated cookies.
- Melt the chocolate wafers: Place the red candy wafers in a microwave-safe bowl. Heat on medium power for 30 seconds, then remove and stir gently. Continue microwaving in 15-second increments, stirring after each, until fully melted and smooth.
- Dip the Oreos: Dip each Oreo cookie about three-fourths of the way into the melted red chocolate, then gently tap to remove any excess chocolate. Place the dipped cookies onto the prepared baking sheet immediately.
- Add decorations: While the chocolate is still wet, sprinkle micro heart sprinkles over the dipped portion of each cookie to create a festive look.
- Attach the eyes: Using a toothpick, dab a small drop of melted chocolate on the back of each royal icing eye and press them onto the chocolate-coated area of the cookie to resemble eyes.
- Set the cookies: Allow the Love Bug Oreo Cookies to sit at room temperature until the chocolate hardens completely, about 15-20 minutes. Then enjoy or store properly.
Notes
- Store Love Bug Oreo Cookies in an airtight container to keep them fresh for up to 7 days.
- If you don’t have red chocolate wafers, you can use white chocolate chips with red food coloring, but melting times may vary.
- Be gentle when tapping off excess chocolate to maintain a neat coating.
- For a glossy finish, stir the melted chocolate gently without introducing air to avoid dullness.
Nutrition
- Serving Size: 1 cookie
- Calories: 150 kcal
- Sugar: 15 g
- Sodium: 90 mg
- Fat: 8 g
- Saturated Fat: 5 g
- Unsaturated Fat: 2 g
- Trans Fat: 0 g
- Carbohydrates: 20 g
- Fiber: 1 g
- Protein: 1 g
- Cholesterol: 0 mg

