
Halloween Oreo Candy Melts Treats Recipe
If you’re looking for a fun, festive, and surprisingly easy treat to whip up for the Halloween season, you’ve got to try this Halloween Oreo Candy Melts Treats Recipe. It’s one of those recipes that not only looks adorable on your holiday table, but also hits that perfect sweet spot between crunchy, creamy, and chocolaty—trust me, your guests will be asking for seconds! Whether you’re baking with kids or just need a no-fuss dessert that screams Halloween vibes, this recipe is going to become your go-to. Keep scrolling and I’ll walk you through every step so you’ll nail these spooky bites right from your own kitchen.
Why This Recipe Works
- Simple Ingredients: It uses classic Oreos and candy melts, making it super accessible and easy to find at any supermarket.
- Visual Wow Factor: The colorful candy melts and decorating options easily transform basic cookies into festive Halloween treats.
- No-Bake Convenience: No oven needed, so this is perfect for busy days or if you want to keep your kitchen cool.
- Kid-Friendly and Customizable: This is a great project to do with kids or friends, with tons of ways to personalize colors and decorations.

Ingredients & Why They Work
This Halloween Oreo Candy Melts Treats Recipe shines because each ingredient plays a clear role: Oreos provide the perfect crunchy base, while the candy melts add that creamy, vibrant magic that ties everything together. I always suggest stocking up on multiple candy melt colors and some fun sprinkles or edible decorations to really make your treats pop.
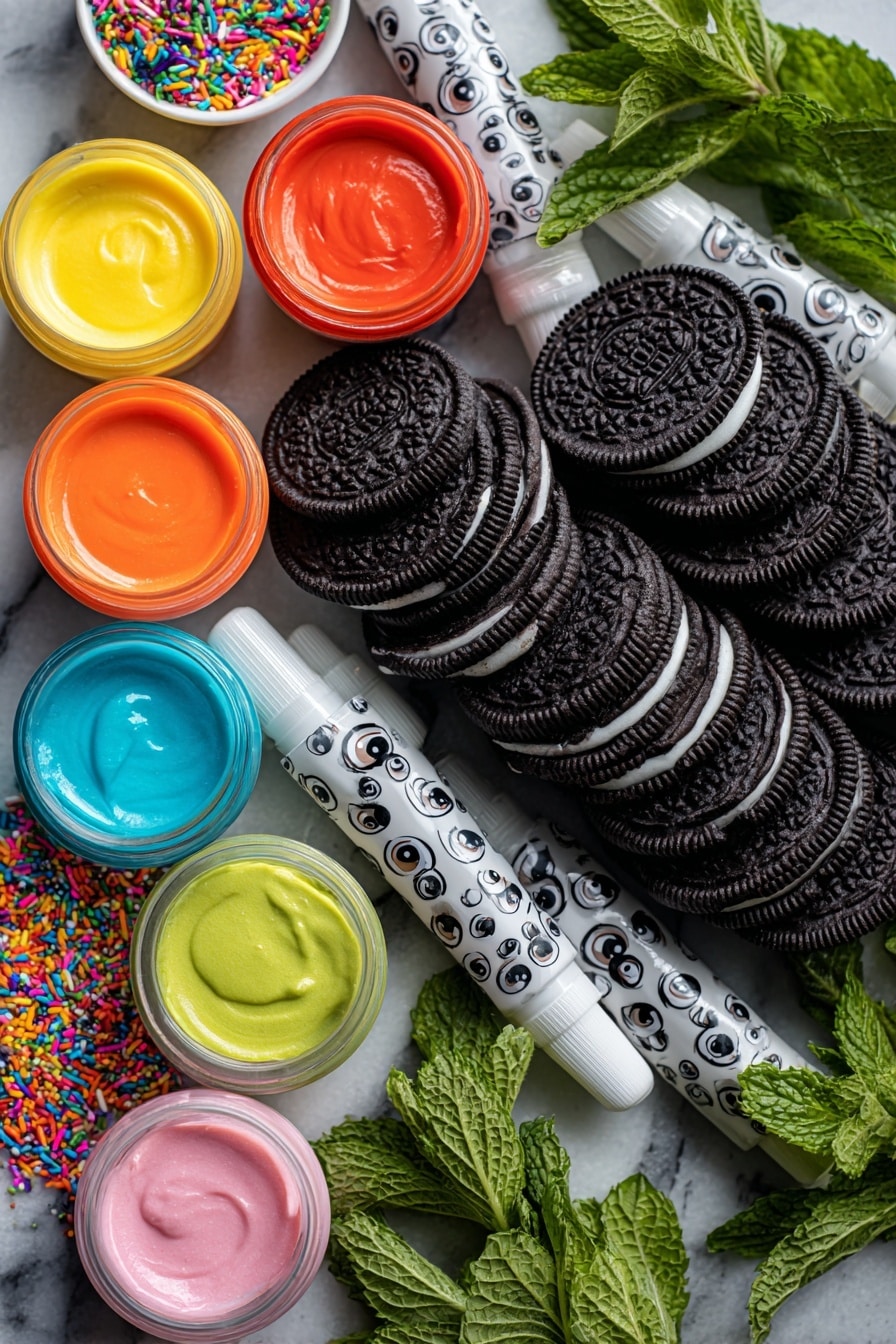
- Oreos: These classic cookies are sturdy enough to hold up when dipped and really bring that chocolate and cream filling combo everyone loves.
- Candy Melts: Pick varied colors for Halloween vibes — orange, black, white, purple. I like using Ghirardelli chocolate candy melts if I can find them; they melt and spread more smoothly and taste fantastic.
- Decorative Sprinkles: Adding sprinkles or candy eyes gives your treats extra personality and festive flair.
- Gel Coloring or Food Writers: Handy for drawing Jack-o’-lantern faces or spider webs to transform your Oreos into mini spooky masterpieces.
Tweak to Your Taste
This Halloween Oreo Candy Melts Treats Recipe is pretty foolproof, but I love experimenting with colors and decorations depending on the year. You can totally make it your own—add spooky messages, use edible glitter, or swap Oreo flavors. Personal touches always make it more fun!
- Variation: I’ve swapped out regular Oreos for mint or birthday cake versions for a surprising twist that my family loved.
- Dietary Option: Use gluten-free Oreos and dairy-free candy melts to accommodate friends with allergies.
- Themed Colors: Try purple and green candy melts for a witchy vibe or red and black for a vampire flair.
Step-by-Step: How I Make Halloween Oreo Candy Melts Treats Recipe
Step 1: Melt Your Candy Melts Gently and Evenly
Start by melting your candy melts in the microwave, but don’t just zap them all at once! I love using paper dixie bowls for easy cleanup and to prevent the chocolate from getting too hot and grainy. Heat in 20-30 second bursts, stirring well in between. This helps you avoid burnt candy melts, which is a total bummer.
Step 2: Layer the Treats in Your Mold or On Parchment
Put about a tablespoon of melted candy melts at the bottom of each cavity of your mold if you have one (silicone molds work best). Then carefully press an Oreo on top, and cover it with more melted candy melts to seal. If you don’t have molds, just do this on parchment paper as mini stacks. This step gives your treats a sturdy base and that beautiful candy coating that will harden perfectly.
Step 3: Chill Until Set
Pop everything in the fridge for about an hour or until the candy melts are firm to the touch. This chilling step is key — rushing it can cause melting or smudging when you decorate later.
Step 4: Remove from Mold and Decorate
Once set, carefully remove your treats from the molds. Melt additional candy melts in desired colors to decorate. For classic Jack-o’-lantern faces, dark chocolate or black candy melts go in a small piping bag with the tip snipped off to draw eyes and mouths. Or my backup? A black food writer pen for edible ink. Drizzle colored melts and sprinkle candy eyes or themed sprinkles for even more fun and texture.
Pro Tips for Making Halloween Oreo Candy Melts Treats Recipe
- Use Silicone Molds: They make it so much easier to pop out your treats without breaking the candy shell.
- Thin Your Candy Melts: If the candy melts get too thick, stir in about 1/2 teaspoon of vegetable oil to get a nice smooth consistency.
- Go Slow on Decorating: Let each decoration layer harden before adding the next to avoid smudging and to get clean designs.
- Keep It Cool: Store your finished treats in a cool place to keep the candy shell from melting, especially if your home is warm.
How to Serve Halloween Oreo Candy Melts Treats Recipe

Garnishes
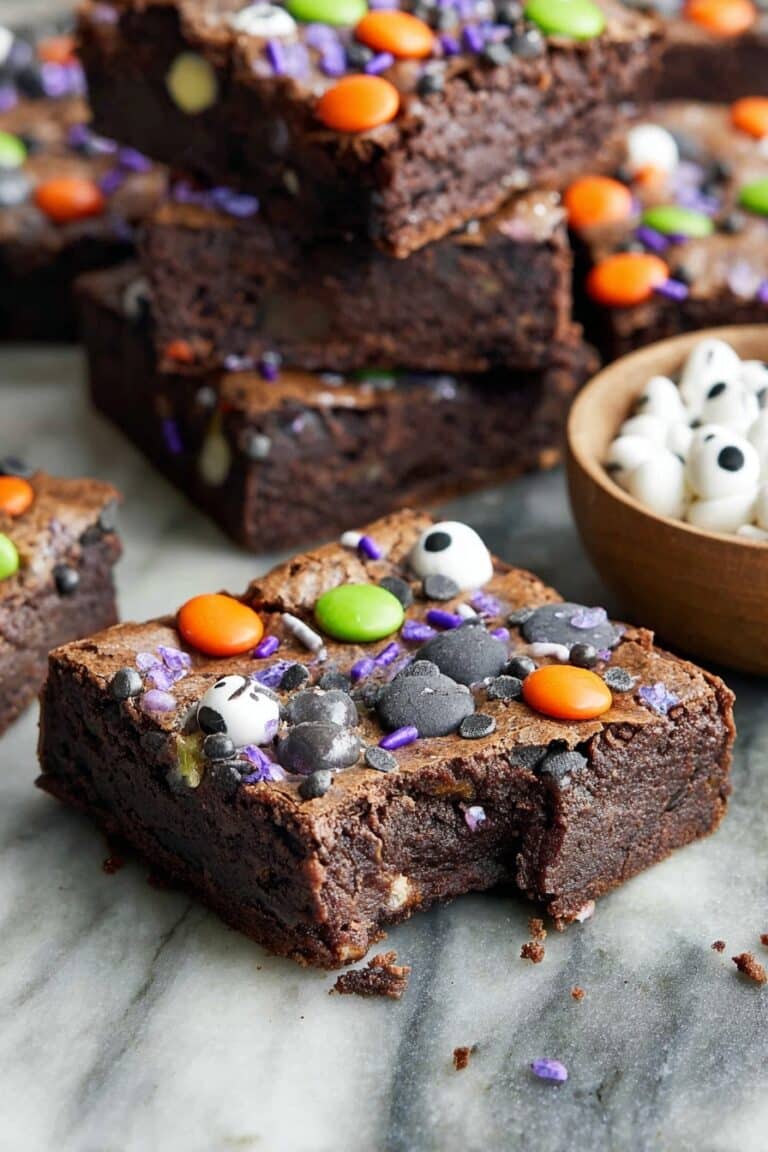
I love topping these treats with candy eyes or tiny black and orange sprinkles—just enough to amp up the spooky factor without overwhelming the Oreo. Sometimes I add edible glitter if I’m feeling fancy, which gives them a fun shimmer under the Halloween lights.
Side Dishes
Pair your Halloween Oreo Candy Melts Treats with a cold glass of milk (always a winner with Oreos!), or serve alongside a warm pumpkin spice latte or hot apple cider to really set the seasonal mood.
Creative Ways to Present
I like arranging these treats on a black slate board with fake spider webs and plastic spiders woven in for a dramatic Halloween display. You can also put each treat in a mini cupcake liner or clear cellophane bag with a festive ribbon—perfect if you’re handing them out as party favors!
Make Ahead and Storage
Storing Leftovers
I store leftovers in an airtight container at room temperature, away from heat and humidity, for up to 5 days. The candy coating stays nice and crisp, and the Oreos hold up well without getting soggy.
Freezing
You can freeze these treats wrapped individually in plastic wrap and placed in a container or freezer bag. When you’re ready to enjoy, just thaw at room temperature—though I’ve found the candy shell can sometimes get a bit soft after freezing, so I prefer eating them fresh when possible.
Reheating
No need to reheat! These are best served chilled or at room temp. If you want the candy melty vibe, a quick 10-second zap in the microwave works—but watch that closely so you don’t melt the cookie inside.
FAQs
-
Can I use regular chocolate instead of candy melts for the Halloween Oreo Candy Melts Treats Recipe?
You can, but candy melts are specially formulated to melt smoothly and harden with a shiny finish, which works better for coating and decorating. Regular chocolate can be trickier to manage because it takes longer to set and sometimes isn’t as flexible for piping decorations.
-
How do I prevent my candy melts from getting too thick?
If your candy melts start to thicken or seize up, stir in a little vegetable oil—about half a teaspoon at a time—to thin the mixture back out. Also, avoid overheating in the microwave by melting in short bursts and stirring frequently.
-
Can kids help make this recipe?
Absolutely! Kids love the decorating part especially. Just take care with the hot melted candy, and supervise the chilling and piping steps. It’s a fun project for little hands and a great way to share some Halloween crafting in the kitchen.
-
Do I really need to chill the treats before decorating?
Yes! Chilling lets the candy melts set fully, creating a firm base for decorating. If you skip this step, your decorations might slide off or blend together, losing that neat, festive look.
Final Thoughts
This Halloween Oreo Candy Melts Treats Recipe is one of those joyful, no-fail recipes that I come back to year after year. It’s simple but lets you get creative, bringing out the kid in all of us while delivering that perfect treat everyone loves. Give it a go for your next Halloween party or just because you want a festive pick-me-up—once you try these, I think you’ll find they’re to Halloween what pumpkin pie is to Thanksgiving. Have fun, get your hands a little messy, and enjoy every bite of your gorgeous, spooky creation!
Print
Halloween Oreo Candy Melts Treats Recipe
- Prep Time: 45 minutes
- Cook Time: 0 minutes
- Total Time: 1 hour 45 minutes
- Yield: 8 servings
- Category: Snack
- Method: No-Cook
- Cuisine: American
Description
This Halloween Oreos recipe transforms classic Oreos into festive treats with colorful candy melts and fun decorations, perfect for spooky celebrations or party snacks.
Ingredients
Main Ingredients
- 12 Oreos
- 1 cup candy melts in different colors
- Sprinkles, gel coloring, candy eyes, or other decorations as desired
Instructions
- Melt Candy Melts: Melt the candy melts according to package directions, preferably in paper dixie bowls for easy clean up and to prevent burning in the microwave.
- Fill Molds with Candy: Pour about 1 tablespoon of melted candy melts into the bottom of each cavity of your mold.
- Place Oreos: Top the candy layer with one Oreo in each mold cavity.
- Cover Oreos: Pour additional melted candy melts over the Oreos to cover them completely.
- Chill: Place the molds in the refrigerator and chill until the candy melts are set, about 1 hour.
- Remove from Molds: Once set, carefully remove the candy-coated Oreos from the molds.
- Decorate: Melt additional candy melts in desired colors and use them to decorate. For jack o’ lantern faces, use dark chocolate or black candy melts in a piping bag with a small tip to draw eyes and mouth, or use a black food writer pen.
- Add Sprinkles: For sprinkle decorations, drizzle melted candy melts over the tops and add sprinkles. Chill again until hardened.
Notes
- Chocolate candy melts like Ghirardelli melt and spread better and taste superior.
- If candy melts are too thick, add about 1/2 teaspoon vegetable oil and stir to thin.
- Using paper dixie bowls makes for easy clean-up and prevents burning in the microwave.
- Refer to tutorials on candy decoration for better results when melting and decorating.
Nutrition
- Serving Size: 1 cookie
- Calories: 150 kcal
- Sugar: 15 g
- Sodium: 100 mg
- Fat: 8 g
- Saturated Fat: 5 g
- Unsaturated Fat: 2 g
- Trans Fat: 0 g
- Carbohydrates: 20 g
- Fiber: 1 g
- Protein: 1 g
- Cholesterol: 0 mg


