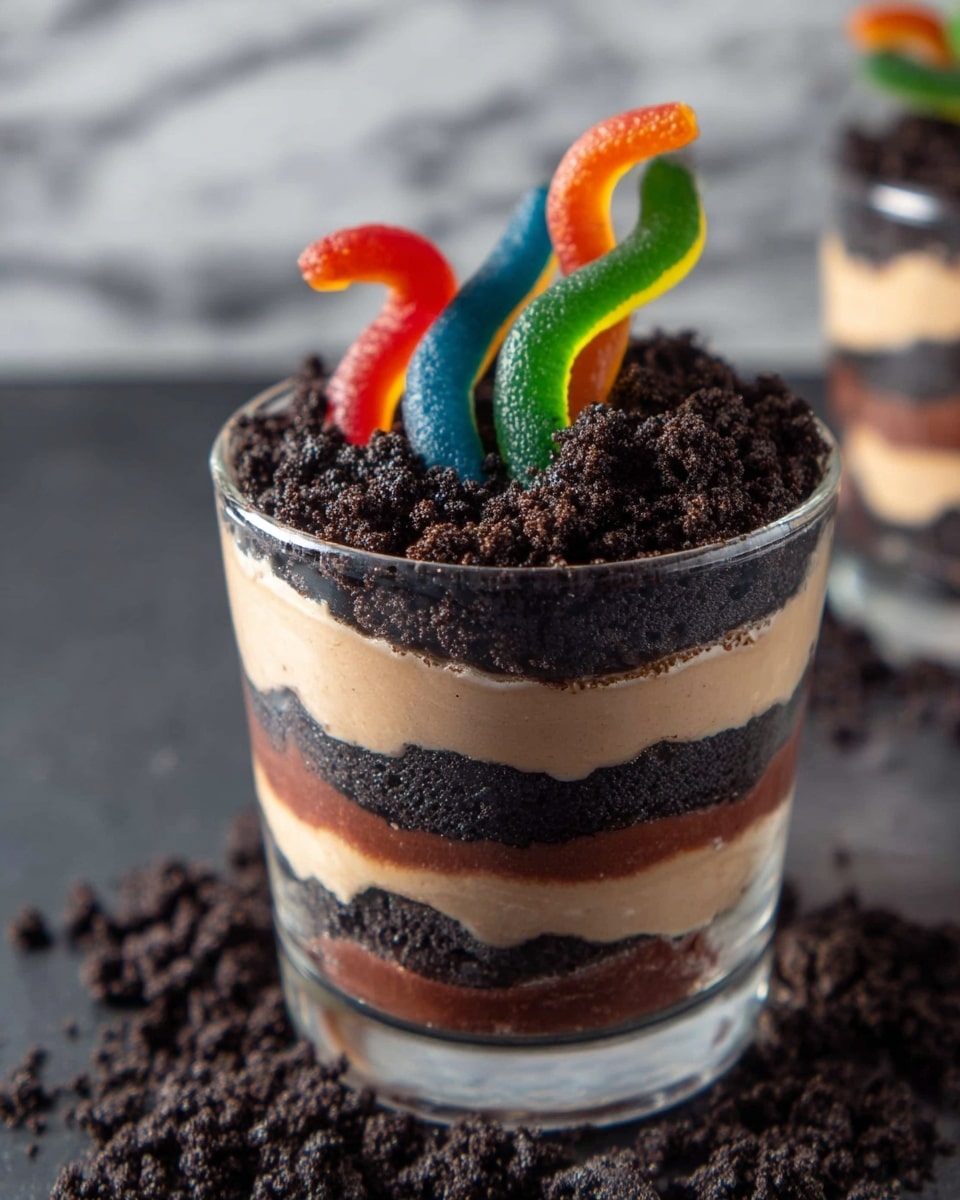
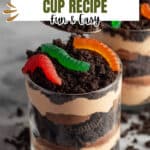
Dirt Pudding Cups Recipe
If you’ve ever wanted a fun, nostalgic dessert that’s easy to whip up and guaranteed to delight both kids and adults, you need to try my Dirt Pudding Cups Recipe. This treat is a creamy, chocolatey, and just a little bit playful spin on classic pudding, layered with crunchy cookie “dirt” and topped off with gummy worms for that whimsical touch. Trust me, once you try it, you’ll find yourself making it over and over for impromptu gatherings or even just a cozy night in.
Why This Recipe Works
- Creamy & Fluffy Texture: The combination of Greek yogurt, heavy cream, and peanut butter creates a luscious, smooth pudding that’s light yet satisfyingly rich.
- Balanced Sweetness: Honey sweetens naturally without overpowering the chocolate flavor from the cocoa powder and the cookies.
- Fun Presentation: Layering crushed cookies and creamy pudding paired with gummy worms makes this dessert a playful eye-catcher perfect for all ages.
- Quick & No-Bake: You get a delicious, ready-in-15-minutes treat that doesn’t require turning on the oven or any fancy equipment.

Ingredients & Why They Work
The magic behind this Dirt Pudding Cups Recipe comes down to choosing ingredients that blend into the perfect texture and flavor. Each element serves a purpose, whether it’s making the pudding creamy or adding that signature “dirt” crunch with chocolate sandwich cookies. Here’s a closer look at what I use and why:
- Vanilla Greek Yogurt: Adds tang, creaminess, and protein for a healthier pudding base that’s not too sweet.
- Heavy Cream: Whipped into the mix, it lightens and fluff-ups the pudding beautifully.
- Honey: A natural sweetener that balances the cocoa’s bitterness without clashing.
- Cocoa Powder: Gives the core chocolate flavor with depth and richness.
- Creamy Peanut Butter (Optional): Adds a subtle nutty undertone and richness; I love it but feel free to skip.
- Vanilla Extract: Enhances all the other flavors and rounds out the pudding.
- Salt: Just a pinch to amplify the sweetness and cocoa notes.
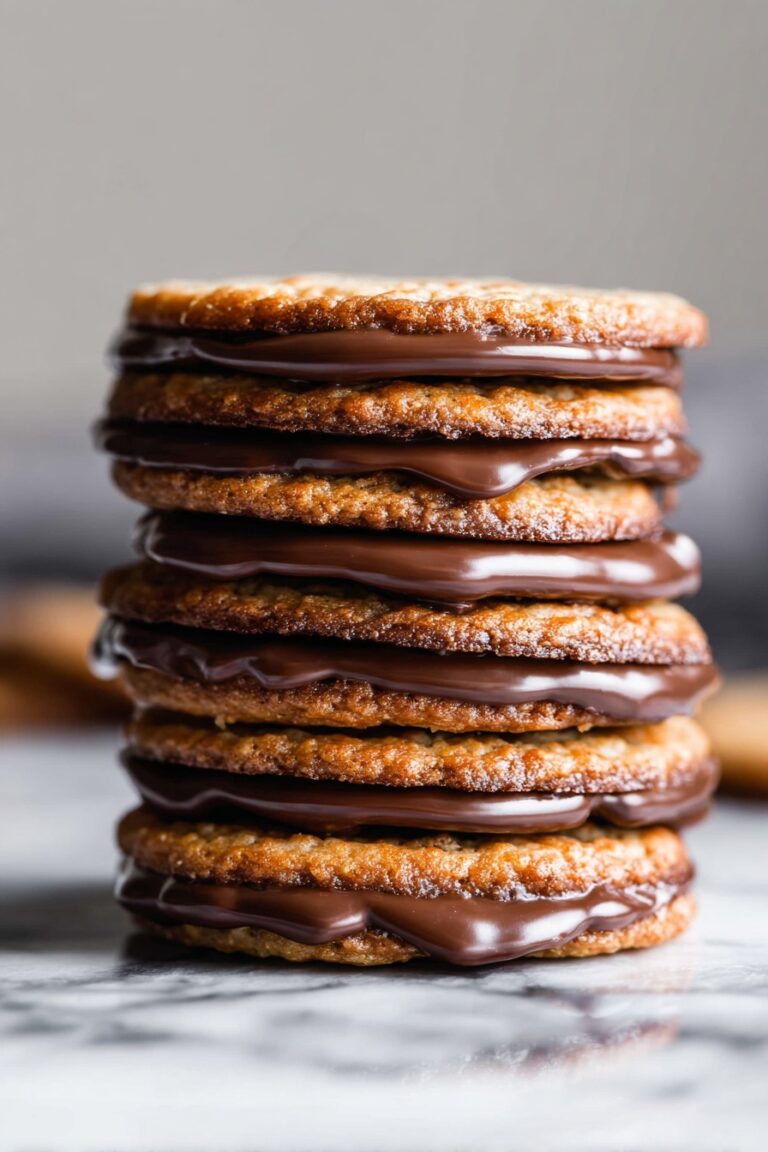
- Crushed Chocolate Sandwich Cookies: These mimic “dirt” perfectly, providing crunch and chocolate kicks.
- Gummy Worms: The fun signature garnish — adds color, chewiness, and whimsy.
Tweak to Your Taste
One of the things I adore about this Dirt Pudding Cups Recipe is how easy it is to make your own. Maybe you prefer a little more peanut butter, or want to swap out honey for maple syrup—go for it! Don’t hesitate to customize until it feels just right for you.
- Peanut Butter Swap: I once tried replacing peanut butter with almond butter to give it a twist — it added a lovely earthy note that paired well with the chocolate.
- Dairy-Free Variation: Use coconut yogurt and a non-dairy cream alternative to keep it plant-based, just watch that flavor balance.
- Extra Crunch: For more texture, I sometimes mix in chopped nuts or swap half the cookies for crushed pretzels.
- Fruit Add-In: Adding sliced strawberries or banana on top creates a fresh balance to the dessert.
Step-by-Step: How I Make Dirt Pudding Cups Recipe
Step 1: Whip Up the Chocolatey Pudding
Start by combining vanilla Greek yogurt, heavy cream, honey, cocoa powder, peanut butter (if you’re using it), vanilla extract, and salt in a mixing bowl. I use my stand mixer, but a strong hand mixer works great too. Blend the mixture for about a minute until it turns smooth and fluffy. Don’t forget to scrape down the sides as you go to make sure everything is well incorporated. You want your pudding to be light and creamy, not dense—this part is crucial.
Step 2: Prepare the “Dirt” with Crushed Cookies
While the pudding is settling, crush your chocolate sandwich cookies. An easy method I use is to place them in a sealed plastic bag and gently tap with a rolling pin. Aim for a mix of crumbs and small chunks to give a realistic “soil” texture. You want enough crumbs to layer generously but still leave room for creamy pudding.
Step 3: Layer It Up in Cups or Jars
Now for the fun part! Grab six small cups or jars and start creating alternate layers of crushed cookies and pudding — two layers each. I usually begin with a cookie layer on the bottom, top with pudding, then repeat. This not only looks visually appealing but ensures every spoonful has that perfect crunch-to-creamy ratio.
Step 4: Add the Wormy Finish
Top each cup with a few gummy worms right before serving for that signature dirt-and-worms vibe. It’s whimsical, nostalgic, and always a crowd-pleaser. If you’re making them ahead, I suggest adding the worms just before serving so they don’t get too sticky or lose their shape.
Pro Tips for Making Dirt Pudding Cups Recipe
- Room Temperature Ingredients: Let the yogurt and heavy cream reach room temp before mixing to avoid lumps and get better fluffiness.
- Control Cookie Texture: Crushing cookies unevenly adds to the “dirt” look; don’t over-crush to powder.
- Make It Ahead, Assemble Later: You can prep the pudding in advance and keep refrigerated, then assemble and add gummy worms just before serving for freshness.
- Balance Sweetness: Taste your pudding before assembling — if it’s too bitter, add a touch more honey one teaspoon at a time.
How to Serve Dirt Pudding Cups Recipe
Garnishes
I typically stick with classic gummy worms on top because they’re just so fun and perfect for the “dirt” theme. Occasionally, I like to sprinkle a few mini chocolate chips or add a dusting of crushed nuts for extra texture. Fresh mint leaves also add a pop of color and fresh aroma if you want to elevate the presentation.
Side Dishes
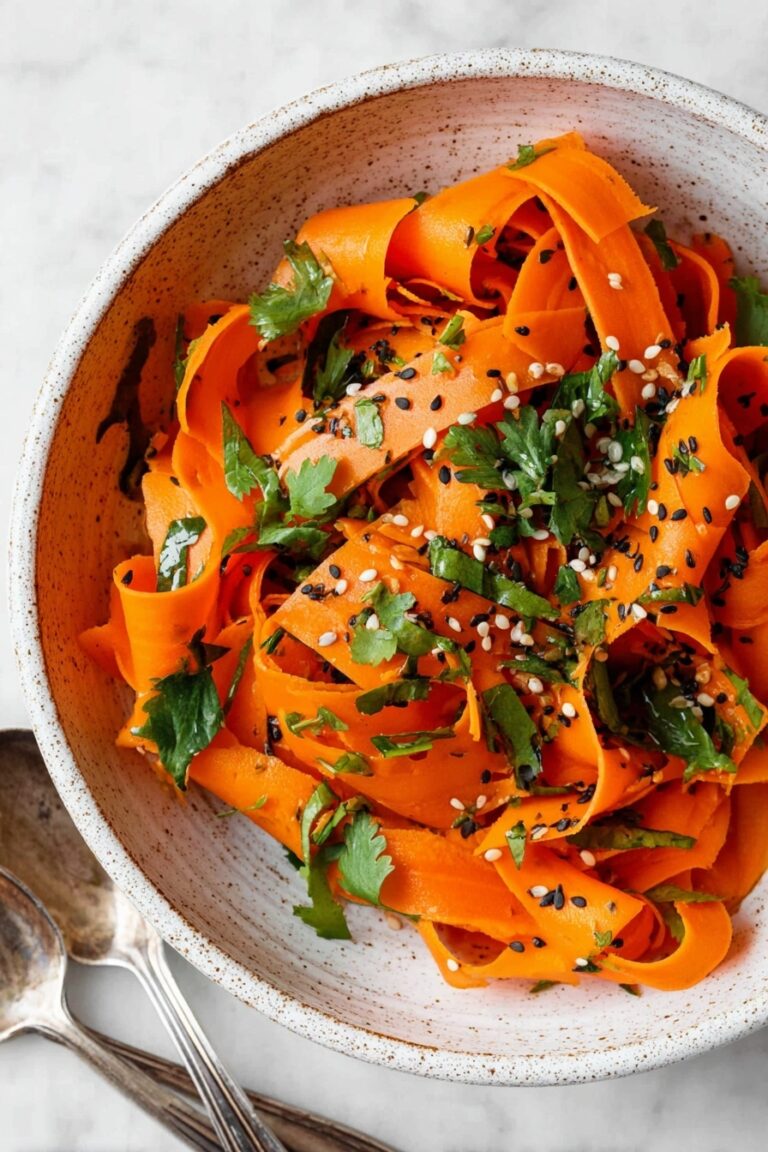
Because this pudding cup is a rich dessert, I love pairing it with a light, fresh fruit salad or some crunchy veggie sticks if I’m serving it at a party. It balances out the richness and makes for a well-rounded treat. For kids’ parties, simple lemonade or iced tea pairs nicely without overwhelming the palate.
Creative Ways to Present
For birthday parties or Halloween, I’ve served these Dirt Pudding Cups in mini flower pots or small mason jars wrapped with twine for a rustic vibe. Another fun idea I tried was using edible cookie “soil” as a layer under a clear glass to mimic a terrarium effect. It’s always good to think a little outside the cup!
Make Ahead and Storage
Storing Leftovers
I store any leftover pudding mixture in an airtight container in the fridge for up to 3 days. The cookies stay crunchy best when added fresh at assembly, so it’s best to keep them separate if you want to enjoy maximum textural contrast the next day.
Freezing
In my experience, freezing the pudding mixture changes its texture, so I don’t recommend freezing completed dirt cups. However, the cookie crumbs and gummy worms freeze well if you want to prep those ahead of time.
Reheating
Since this is a no-bake chilled dessert, reheating isn’t really necessary. If you’d like a softer texture, let leftover cups sit at room temperature for 10-15 minutes before serving, but keep in mind the cookies will soften with time.
FAQs
-
Can I make the Dirt Pudding Cups Recipe vegan?
Absolutely! Swap Greek yogurt for coconut or almond-based yogurt, replace heavy cream with coconut cream whipped similarly, and use maple syrup or agave instead of honey. Just be mindful that the flavor and texture will differ a little but still be delicious.
-
What type of cookies work best for the “dirt”?
Chocolate sandwich cookies like Oreos are perfect because their dark color resembles dirt well and their cream filling adds a nice texture contrast. You can crush them to your preferred size for best effect.
-
Can I prepare these cups in advance for a party?
Yes, you can prep the pudding and crushed cookies ahead and store separately in the fridge. Assemble just before serving to keep the cookies crunchy. Add gummy worms last to maintain their shape.
-
How many servings does this recipe make?
This recipe yields about 6 small servings, perfect for sharing at casual get-togethers or as a fun individual treat.
Final Thoughts
I still remember the first time I made these Dirt Pudding Cups—with gummy worms popping out like little surprises, everyone at the table couldn’t help but smile. This recipe is perfect when you want something quick, fun, and satisfying without fuss. Whether you’re making it for kids or just craving a chocolatey treat yourself, I can’t recommend this Dirt Pudding Cups Recipe enough. Give it a try—your taste buds (and maybe even some friends) will thank you!
Print
Dirt Pudding Cups Recipe
- Prep Time: 15 minutes
- Cook Time: 0 minutes
- Total Time: 15 minutes
- Yield: 6 servings
- Category: Dessert
- Method: No-Cook
- Cuisine: American
- Diet: Vegetarian
Description
Delicious and fun Dirt Pudding Cups featuring layers of creamy chocolate pudding made with Greek yogurt, cocoa, and peanut butter, combined with crunchy chocolate sandwich cookies and topped with gummy worms for a playful dessert perfect for kids and adults alike.
Ingredients
Pudding Mixture
- 1 ½ cups vanilla Greek yogurt
- ¼ cup heavy cream
- ¼ cup honey
- ¼ cup cocoa powder
- ¼ cup creamy peanut butter (optional)
- 1 teaspoon vanilla extract
- ½ teaspoon salt
Cookies and Toppings
- 1 ½ cups crushed chocolate sandwich cookies (about 16 cookies)
- 15 gummy worms
Instructions
- Make the pudding mixture: Place the vanilla Greek yogurt, heavy cream, honey, cocoa powder, peanut butter, vanilla extract, and salt into the bowl of a stand mixer. Process on medium speed until the mixture is smooth and fluffy, about 1 minute. Remember to scrape down the sides of the bowl as needed to ensure even mixing.
- Layer the dessert cups: In 6 small cups or jars, create alternate layers starting with crushed chocolate sandwich cookies followed by the chocolate pudding mixture. Repeat the layers so that each cup ends up with two layers of cookies and two layers of pudding, evenly divided among the cups.
- Add the finishing touch: Top each cup with several gummy worms to create the classic ‘dirt and worms’ look. Serve immediately for best texture and freshness.
Notes
- For a dairy-free version, substitute the heavy cream and Greek yogurt with coconut cream and dairy-free yogurt.
- Use regular peanut butter or omit it entirely if you have a peanut allergy or prefer a different flavor.
- Crush the chocolate sandwich cookies finely for easier layering and a consistent texture.
- These pudding cups are best served immediately to keep the cookies from becoming soggy but can be refrigerated for up to 2 hours.
- Try adding other gummy candies or edible flowers for a creative twist.
Nutrition
- Serving Size: 1 cup
- Calories: 250 kcal
- Sugar: 18 g
- Sodium: 150 mg
- Fat: 12 g
- Saturated Fat: 5 g
- Unsaturated Fat: 6 g
- Trans Fat: 0 g
- Carbohydrates: 28 g
- Fiber: 3 g
- Protein: 7 g
- Cholesterol: 20 mg
