No-Bake Peanut Butter Oat Cups Recipe
If you’re craving a sweet, satisfying snack that comes together in a snap, I’ve got just the thing for you. This No-Bake Peanut Butter Oat Cups Recipe is a total game changer—no oven required, just simple ingredients and a glass of patience for chilling. You’ll love how these cups balance peanut butter’s creaminess, a touch of maple syrup’s sweetness, and that hearty chew from oats. Trust me, once you try them, you’ll want to keep these on hand for every craving attack.
Why This Recipe Works
- No oven needed: Perfect for when you want a quick, fuss-free treat without heating up the kitchen.
- Simple ingredients: You can find everything at your local grocery store, making it an easy staple snack to keep on hand.
- Customizable & versatile: Swap out mix-ins or flavors to match your craving or season.
- Nutrient-packed: These cups deliver protein, fiber, and a little bit of healthy fat to keep you fueled.

Ingredients & Why They Work
Each ingredient in this No-Bake Peanut Butter Oat Cups Recipe plays a key role, from texture to flavor. Using finely processed rolled oats creates a sturdy base while the peanut butter and maple syrup bind everything together. I always look for smooth peanut butter for a creamier texture, but chunky works if you like a little crunch. Here’s a quick rundown of the star players:

- Peanut butter: Offers rich creaminess and protein; I prefer natural, unsweetened for a clean flavor.
- Rolled oats: Processed into oat flour, they add structure without overwhelming chewiness.
- Maple syrup: Sweetens gently with a natural depth that complements peanut butter perfectly.
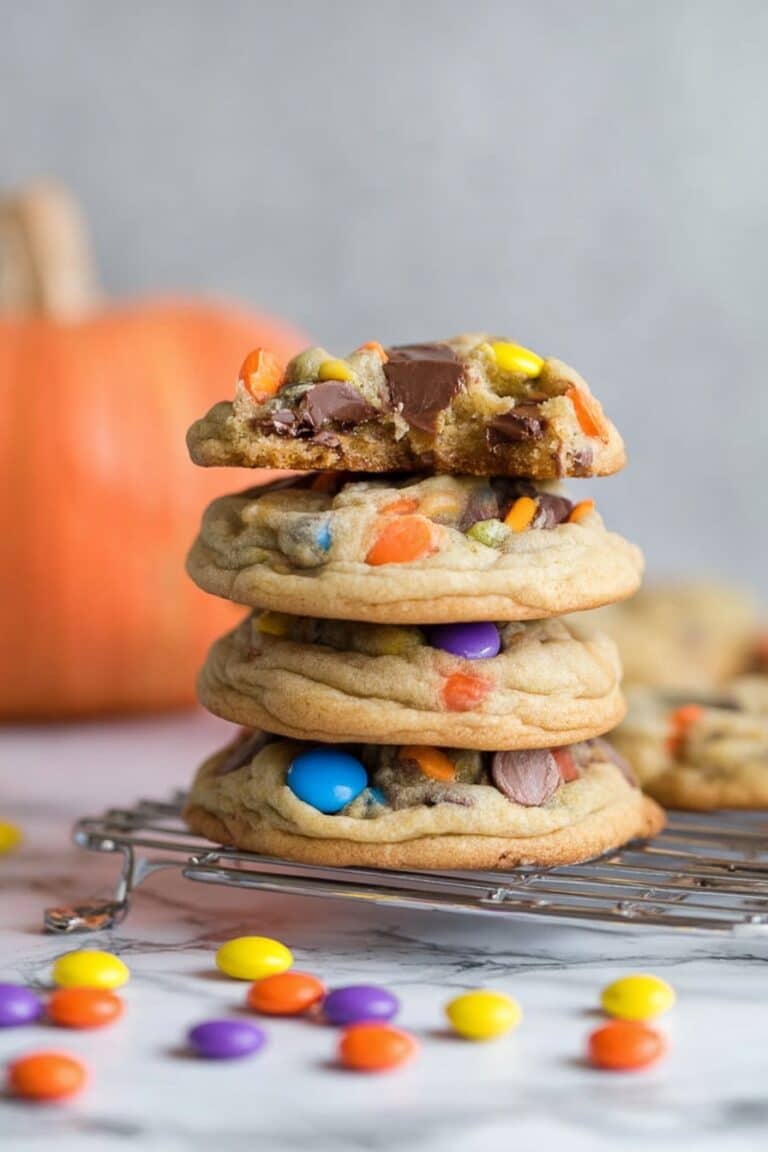
- Chocolate chips: Gives a decadent finishing layer—use semi-sweet or dark depending on your sweetness preference.
- Coconut oil (optional): Helps the chocolate melt smoothly and sets nicely on top for that glossy finish.
Tweak to Your Taste
I like to make these No-Bake Peanut Butter Oat Cups Recipe my own by mixing up the add-ins or adjusting sweetness. It’s super easy to personalize, so play around and find what you love best!
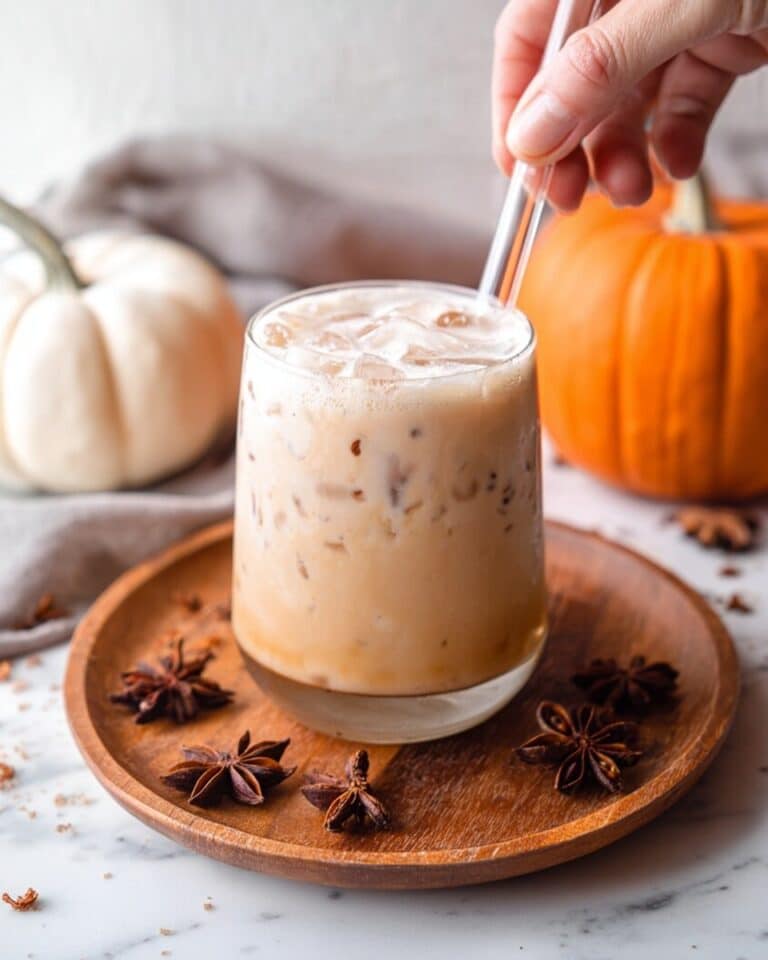
- Pumpkin spice twist: Adding a bit of pumpkin puree with pumpkin spice warms these cups up for fall—trust me, it’s a seasonal favorite.
- Nut swap: Almond butter or cashew butter work just as well if you’re not into peanut butter.
- Extra texture: Stir in some chopped nuts, shredded coconut, or seeds for crunch.
- Chocolate on top only: If you prefer less chocolate, only coat the tops with a thin drizzle.
Step-by-Step: How I Make No-Bake Peanut Butter Oat Cups Recipe
Step 1: Turn oats into oat flour
I start by pulsing the rolled oats in my food processor until they’re finely ground—think flour consistency. This step makes a huge difference in holding the cups together, so don’t skip it. If you don’t have a food processor, a strong blender can work too, but just pulse in bursts to avoid overheating.
Step 2: Melt peanut butter and maple syrup
Pop your peanut butter and maple syrup into a microwave-safe bowl and heat them for 40 to 60 seconds. I usually do 30 seconds, stir, then go for another 20-30 seconds until it’s smooth and easy to mix. Stir it really well so the syrup is fully incorporated—this sweetens and loosens up the peanut butter, making the mixture easier to handle.
Step 3: Combine and mix the oat flour
Slowly add your oat flour to the peanut butter mixture. It’ll feel thick right away, and that’s exactly what you want. The mix should be stiff but moldable. If it feels crumbly or dry, don’t be shy—add a teaspoon or two more maple syrup or peanut butter. Sometimes I like to mix in a little pumpkin puree here for extra moisture and flavor, especially when the weather cools down.
Step 4: Prepare your pan and shape the cups
I line a muffin pan with cupcake liners to keep cleanup easy and make the cups simple to remove. Silicone pans work wonders too, but if you’re using a regular metal muffin tin, liners are key. Scoop the peanut butter-oat mix evenly into the cups and press firmly with your fingers to compact them tightly—this helps the cups hold their shape once chilled.
Step 5: Melt the chocolate topping
In a small microwave-safe bowl, combine your chocolate chips with the optional coconut oil—about a teaspoon works well. Heat in 30-second bursts, stirring in between, until the chocolate is fully melted and silky. Then pour a thin, even layer over each cup, smoothing the tops with the back of a spoon. If you want to get fancy, sprinkle some flaky sea salt or mini chocolate chips on top while the chocolate is still soft.
Step 6: Chill and enjoy!
Pop your cups in the fridge and let them cool for 2-3 hours until the chocolate has set firm. Once chilled, carefully peel off the liners or pop them out of your silicone pan. Store these little beauties in an airtight container in the fridge and aim to eat them within 5 days for the best fresh-every-bite taste.
Pro Tips for Making No-Bake Peanut Butter Oat Cups Recipe
- Use natural peanut butter: It melts smoothly and keeps the flavor rich without overpowering sweetness.
- Don’t rush chilling time: I’ve learned that giving these a full 3 hours in the fridge helps the chocolate harden perfectly and the cups hold together better.
- Even pressing is key: Press the mixture firmly into your pans to prevent crumbling later on.
- Avoid over-mixing oats: Blend just enough for oat flour — too fine, and the texture gets gummy; too coarse, and the cups fall apart.
How to Serve No-Bake Peanut Butter Oat Cups Recipe

Garnishes
I love finishing mine with a sprinkle of flaky sea salt right after spreading the chocolate—it amplifies every flavor and balances sweet with a little savory crunch. Sometimes I toss on a few extra mini chocolate chips or chopped peanuts for texture too.
Side Dishes
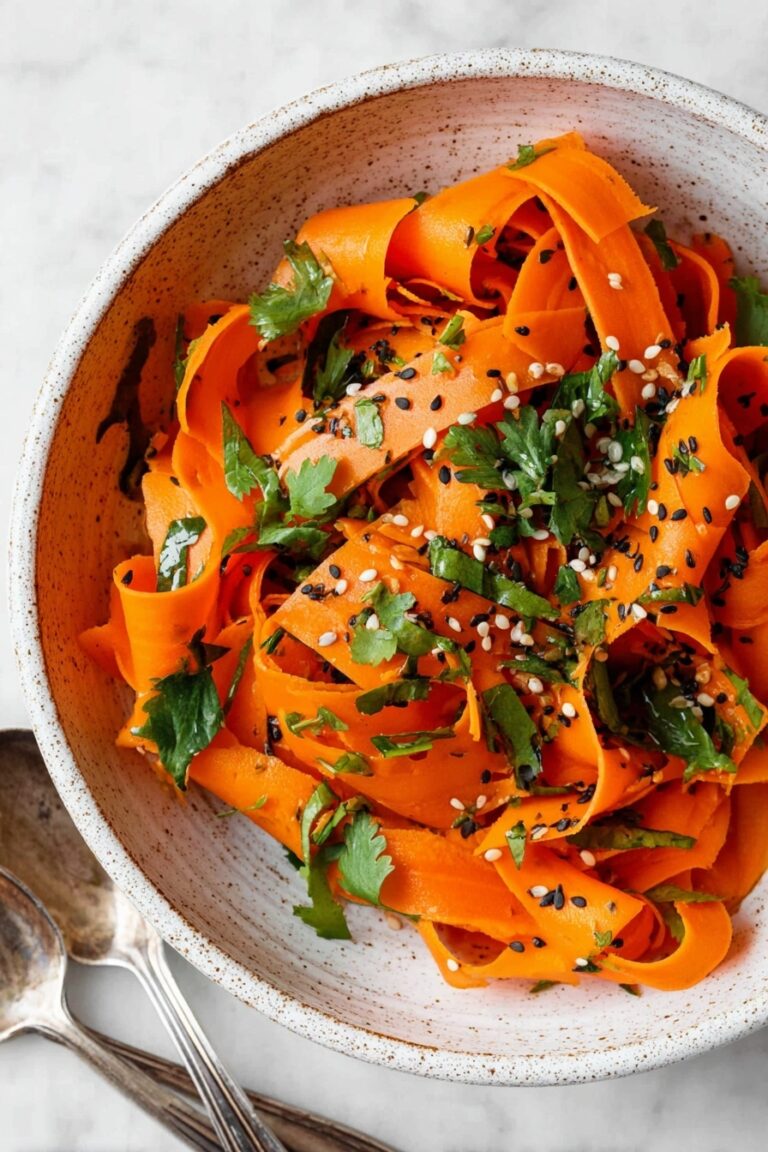
These cups are perfect on their own, but if you want to turn snack time up a notch, pair them with a cup of your favorite coffee or a cold glass of milk. I’ve also brought them along with fresh fruit or a handful of crunchy veggies for a balanced afternoon pick-me-up.
Creative Ways to Present
For birthday parties or special gatherings, I arrange these peanut butter oat cups on a pretty tiered tray with colorful cupcake liners and fresh berries. You can also drizzle more melted chocolate over them in a zigzag pattern for that extra wow factor. They always disappear fast!
Make Ahead and Storage
Storing Leftovers
I always keep these in a sealed container in the fridge because the maple syrup and peanut butter mean they stay fresh best when cool. If left out too long, they soften and can get a bit messy, so refrigeration is a can’t-miss step for me.
Freezing
These freeze beautifully! If I’m making a big batch, I pop them in a freezer-safe container with parchment paper in between layers. When I want one, I just thaw it in the fridge overnight—perfect for a convenient grab-and-go snack.
Reheating
Because these are no-bake and best served chilled, I usually just eat them cold. If you want to soften them slightly, leave them at room temperature for 10-15 minutes, but I wouldn’t recommend microwaving since the chocolate layer might melt messily.
FAQs
-
Can I use peanut butter alternatives in this No-Bake Peanut Butter Oat Cups Recipe?
Absolutely! Almond butter, cashew butter, or even sunflower seed butter work wonderfully in this recipe. Just keep the same quantity and expect slight flavor and texture changes based on your choice.
-
Do I have to use maple syrup, or can I substitute another sweetener?
You can swap maple syrup with honey, agave, or even brown rice syrup. Just be sure to adjust amounts if your sweetener is thicker or thinner. Maple syrup provides a subtle, natural sweetness that’s really nice here.
-
How long will these cups keep in the fridge?
Stored properly in an airtight container, they last up to 5 days in the refrigerator. Beyond that, the texture may start to degrade. For longer storage, freezing is your best bet.
-
Can I make mini-sized No-Bake Peanut Butter Oat Cups?
Yes! Using a mini muffin pan or silicone molds works great. Just adjust the chilling time slightly since smaller cups will firm up faster.
Final Thoughts
I can’t recommend this No-Bake Peanut Butter Oat Cups Recipe enough—it’s one of those feel-good recipes that’s easy to make, delightfully tasty, and adaptable to whatever you have on hand. Whether you’re looking for a quick afternoon pick-me-up or a healthy-ish dessert, these cups have you covered. Give this a try soon and watch your snack game level up faster than you expected!
Print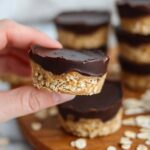
No-Bake Peanut Butter Oat Cups Recipe
- Prep Time: 10 minutes
- Cook Time: 0 minutes
- Total Time: 3 hours 10 minutes
- Yield: 12 servings
- Category: Snack
- Method: No-Cook
- Cuisine: American
- Diet: Vegetarian
Description
These No Bake Peanut Butter Oat Cups are a quick and easy snack or dessert made with peanut butter, maple syrup, oat flour, and a chocolate topping. Perfect for those who want a healthy, homemade treat without the need for baking.
Ingredients
Main Ingredients
- 1.5 cups peanut butter
- 1.5 cups rolled oats, processed finely in a food processor to make oat flour
- 1/4 cup maple syrup
- 1 cup chocolate chips
- 1 tsp coconut oil, optional
Instructions
- Make Oat Flour: Blend rolled oats in a high-speed blender or food processor until finely ground to create oat flour.
- Combine Wet Ingredients: In a medium microwave-safe bowl, add peanut butter and maple syrup. Microwave for 40-60 seconds, then stir thoroughly until fully combined.
- Mix Ingredients: Slowly add the oat flour to the peanut butter mixture and stir or use a food processor to combine. The mixture should be thick but moldable. Add extra maple syrup or peanut butter if too dry. Optionally, add 1/4-1/3 cup pumpkin puree for moisture.
- Prepare Muffin Pan: Line a muffin pan with cupcake liners or use a silicone muffin pan for easy removal.
- Fill Muffin Cups: Scoop the peanut butter oat mixture evenly into the muffin pan and press down firmly with your fingers.
- Melt Chocolate: In a microwave-safe small bowl, combine chocolate chips and coconut oil. Heat in 30 second increments, stirring between sessions until smooth and fully melted.
- Add Chocolate Topping: Pour a layer of melted chocolate over the peanut butter oat cups and smooth with the back of a spoon. Optionally, sprinkle flaky salt, sprinkles, or mini chocolate chips before the chocolate sets.
- Chill: Refrigerate the cups for 2-3 hours to set completely.
- Serve and Store: Carefully remove cups from the pan or liners. Store in an airtight container in the refrigerator for up to 5 days.
Notes
- For a pumpkin-flavored version, add 1/3 cup pumpkin puree and 1 1/2 tsp pumpkin spice to the mixture.
- If the mixture is too dry, add maple syrup or peanut butter a teaspoon at a time to reach desired consistency.
- Use silicone pans or cupcake liners to avoid sticking and ease removal.
- Store these cups refrigerated since they are no bake and contain fresh ingredients like maple syrup.
Nutrition
- Serving Size: 1 cup
- Calories: 210 kcal
- Sugar: 10 g
- Sodium: 90 mg
- Fat: 15 g
- Saturated Fat: 4 g
- Unsaturated Fat: 10 g
- Trans Fat: 0 g
- Carbohydrates: 18 g
- Fiber: 3 g
- Protein: 6 g
- Cholesterol: 0 mg

