Peanut Butter Chocolate Bars Recipe
If you’re anything like me and adore the classic combo of peanut butter and chocolate, you’re going to fall head over heels for this Peanut Butter Chocolate Bars Recipe. It’s basically your favorite childhood treat, transformed into luscious bars that are super easy to whip up. These bars come together quickly, make a perfect snack or dessert, and impress every time you bring them to a gathering (trust me, I’ve tested this on friends and family!).
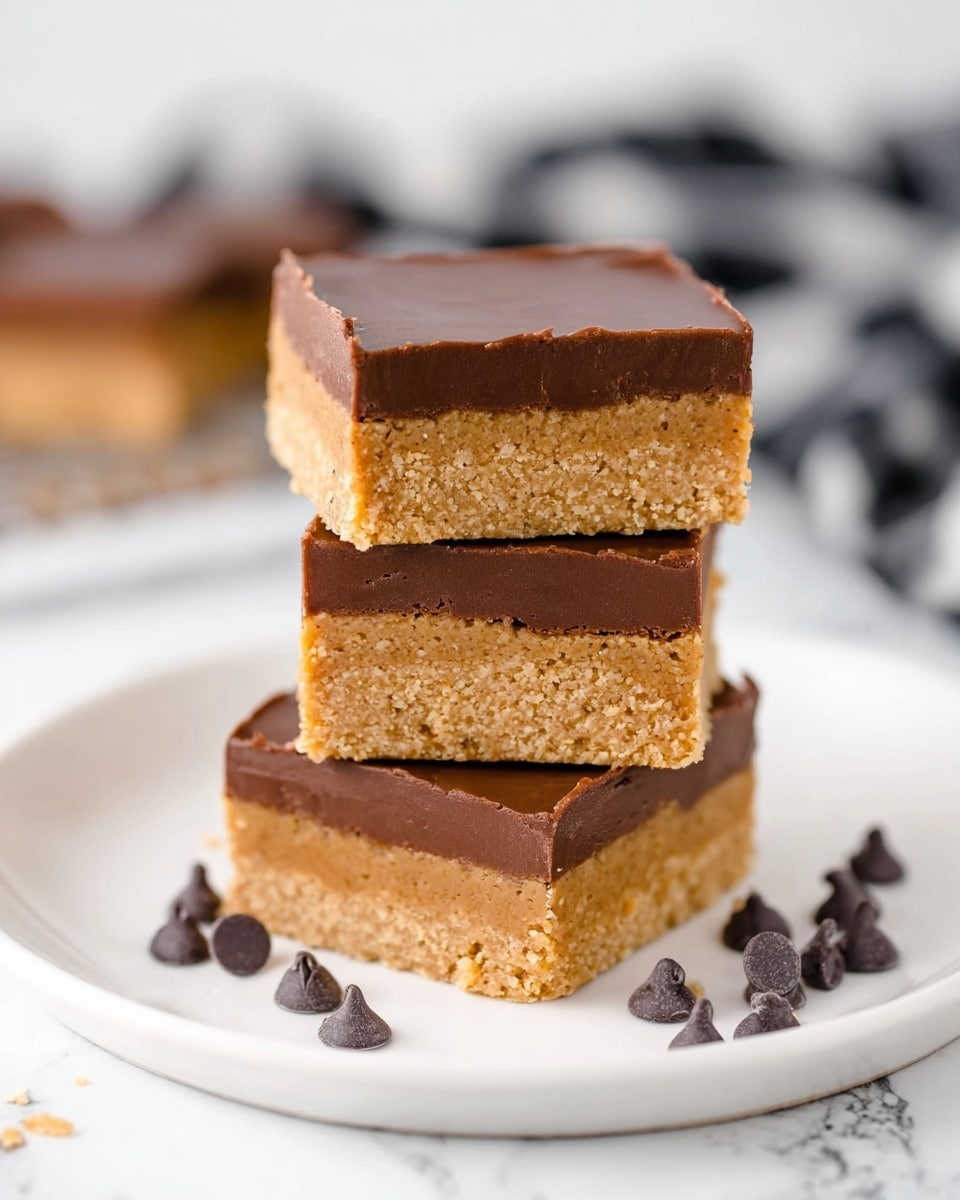
Whether you’re craving a sweet bite after dinner or looking for an easy recipe to satisfy your chocolate and peanut butter fix, this Peanut Butter Chocolate Bars Recipe has got you covered. The buttery, crumbly base paired with that silky chocolate-peanut layer on top is such a comforting combo — it seriously feels like a warm hug in dessert form.
Why This Recipe Works
- No-Bake Convenience: You don’t need an oven, which means cooler kitchen days and super quick prep.
- Perfect Texture: The combination of crunchy graham cracker base and creamy chocolate-peanut butter topping hits the ideal balance of chewy and smooth.
- Ingredient Harmony: Basic pantry staples come together beautifully with no fancy ingredients needed.
- Crowd Favorite: It’s always a hit whether I’m serving it at a casual family night or a holiday party.

Ingredients & Why They Work
This Peanut Butter Chocolate Bars Recipe relies on just a handful of ingredients that complement each other perfectly—creamy peanut butter, crunchy graham crackers, smooth chocolate, and butter to bind it all. A quick note: using good quality creamy peanut butter and chocolate chips really makes a difference in the depth of flavor.
- Butter: Melted butter helps bind the ingredients and gives the base a rich, moist texture.
- Graham crackers: Crushed to provide a crunchy, slightly sweet foundation for the bars.
- Powdered sugar: Adds sweetness and gives structure to the peanut butter base.
- Creamy peanut butter: Key for that classic peanut flavor and a smooth texture that melts in your mouth.
- Semi-sweet chocolate chips: Brings just the right amount of chocolate bitterness to balance the sweet peanut butter.
Tweak to Your Taste
One of the best things about this Peanut Butter Chocolate Bars Recipe is how easy it is to adjust according to what you like. I’ve played around with adding a sprinkle of sea salt on top to cut the sweetness, and it’s my new favorite way to enjoy these bars.
- Nut Butter Swap: I’ve also tried almond butter instead of peanut butter for a slightly different but equally delicious twist.
- Extra Crunch: Adding chopped peanuts or even pretzel bits into the base adds a satisfying crunch that I personally love.
- Dairy-Free Version: Use coconut oil in place of butter and dairy-free chocolate chips to make it vegan-friendly.
Step-by-Step: How I Make Peanut Butter Chocolate Bars Recipe
Step 1: Prep Your Pan and Gather Ingredients
I always start by lining a 9×9-inch baking dish with parchment paper—this little step is a game changer because it makes removing the bars a breeze. While the pan is ready, melt your butter and measure out your other ingredients to keep things moving smoothly once you start mixing.
Step 2: Combine the Base Ingredients
In a bowl, I use a hand mixer to blend the melted butter, powdered sugar, and crushed graham crackers until they form a crumbly, slightly sticky mixture. Then you add the big portion of creamy peanut butter and mix just until everything looks combined and smooth—don’t overmix!
Step 3: Press the Base into the Pan
Transfer your peanut butter mixture to the pan and press it down evenly with the back of a spoon or your fingers. This layer forms the tasty base, so make sure it’s packed firmly but not overly compacted.
Step 4: Make the Chocolate Peanut Butter Topping
Pop your chocolate chips and the remaining peanut butter into a heat-safe bowl, then microwave them in 30-second bursts, stirring well after each. Keep going until the mixture is silky smooth. This step is crucial for achieving that luscious texture—don’t rush it!
Step 5: Spread the Topping and Chill
Pour that glorious chocolate peanut butter mix over the base, spreading it out into an even layer. Then slide the pan into the fridge for at least an hour to let everything set up nicely. When it’s firm, let the bars sit at room temp for 10-15 minutes before slicing so they cut cleanly without crumbling.
Pro Tips for Making Peanut Butter Chocolate Bars Recipe
- Use Room Temperature Peanut Butter: It mixes better and helps create that silky texture without lumps.
- Don’t Skip the Parchment Paper: It saves you from the sticky pan struggle and helps keep your bars intact.
- Microwave in Short Bursts: Prevents the chocolate from burning—stir well every 30 seconds.
- Chill Long Enough: At least an hour is key for firm bars that cut nicely without crumbling.
How to Serve Peanut Butter Chocolate Bars Recipe
Garnishes
I love topping these bars with a light sprinkle of flaky sea salt or some crushed peanuts for a little extra crunch and a salty-sweet contrast. Sometimes I’ll drizzle a tiny bit of melted white chocolate for a fancy touch when serving guests.
Side Dishes
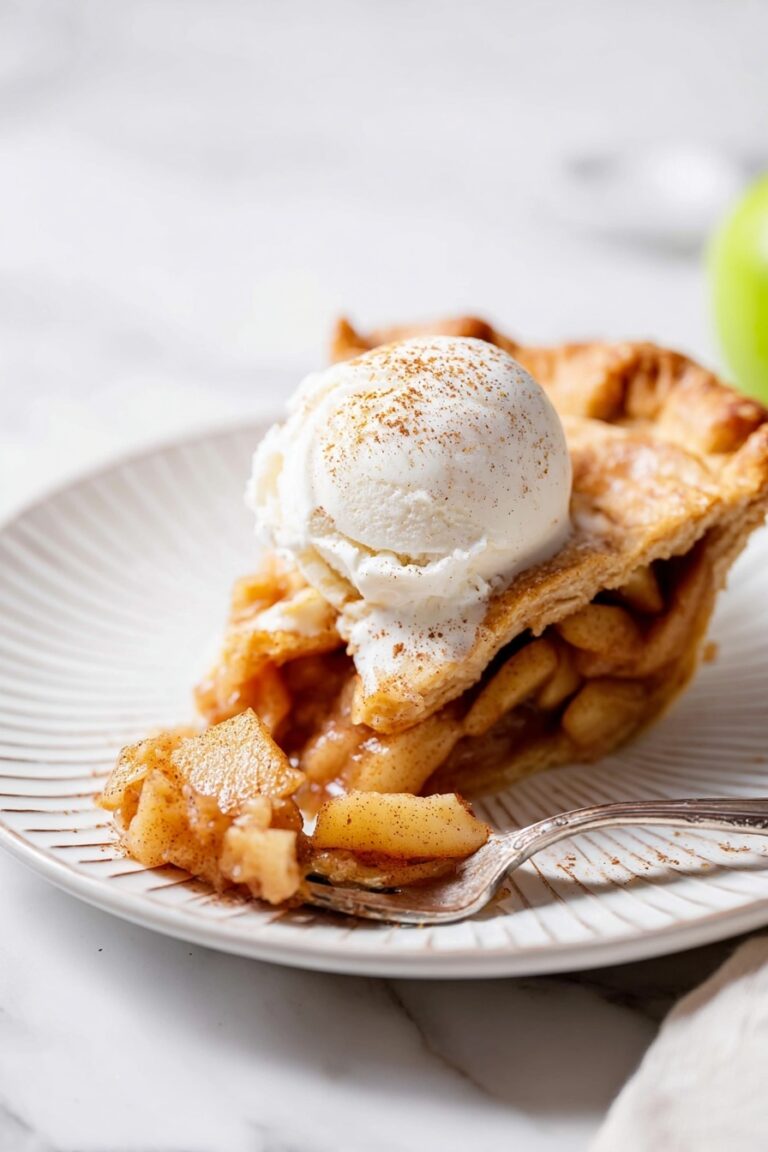
These bars are great on their own, but if you’re serving a dessert platter, I like pairing them with fresh berries or a scoop of vanilla ice cream to balance the richness. A cup of black coffee or cold milk also works wonders.
Creative Ways to Present
For birthdays or holidays, I’ve cut these bars into bite-sized squares and stuck mini decorative toothpicks in each. They make perfect party finger food! Wrapping individual bars in parchment paper tied with twine makes for adorable little gifts too.
Make Ahead and Storage
Storing Leftovers
I usually store leftover bars in an airtight container in the fridge. They stay fresh and firm for up to a week, which is wonderful for quick snacks during busy days. Just remember to bring them to room temperature before eating for the best taste and texture.
Freezing
These bars freeze beautifully! I wrap individual pieces tightly in plastic wrap, then place them in a freezer-safe bag. When I want a treat, I thaw them overnight in the fridge and let them sit out a bit before serving. They maintain their flavor and texture surprisingly well.
Reheating
If you like your peanut butter chocolate bars a little softer, I pop one in the microwave for about 10 seconds. This warms the chocolate and peanut butter just enough to make them ooey-gooey without melting them completely. Just be careful not to overheat!
FAQs
-
Can I use crunchy peanut butter instead of creamy in the Peanut Butter Chocolate Bars Recipe?
Absolutely! Crunchy peanut butter will add extra texture to your bars. Just be aware it might make the base a little less smooth but perfectly delicious if you love that nutty crunch.
-
Is this Peanut Butter Chocolate Bars Recipe gluten-free?
Traditional graham crackers contain gluten, so to make this recipe gluten-free, substitute with gluten-free graham crackers or crushed gluten-free cookies. The rest of the ingredients are naturally gluten-free.
-
How long do these bars last?
Stored in an airtight container in the fridge, these bars keep well for up to one week. Just bring them to room temperature before serving for the best flavor.
-
Can I make these bars ahead of time for a party?
Yes! They’re excellent make-ahead treats. Prepare the bars a day or two in advance, keep them chilled, and slice just before serving. They’re actually a huge time-saver on party day.
-
What’s the best way to cut these bars without them crumbling?
After chilling, allow the bars to sit at room temperature for about 10-15 minutes before slicing. Use a sharp knife, and wipe the blade clean between cuts for neat pieces.
Final Thoughts
Making this Peanut Butter Chocolate Bars Recipe is always a treat, not just for the taste but because it’s so simple to pull together and share with the people you care about. I hope you enjoy this recipe as much as I do—it’s one of those comforting, reliable desserts that never fail to bring smiles. Give it a try and let me know how you like to customize it—you might discover your own new favorite version!
Print
Peanut Butter Chocolate Bars Recipe
- Prep Time: 10 minutes
- Cook Time: 0 minutes
- Total Time: 1 hour 10 minutes
- Yield: 16 servings
- Category: Dessert
- Method: No-Cook
- Cuisine: American
- Diet: Vegetarian
Description
Delicious and easy-to-make Peanut Butter Bars featuring a buttery graham cracker base layered with creamy peanut butter and topped with rich, semi-sweet chocolate. Perfect for a sweet snack or dessert that requires no baking.
Ingredients
Base
- 3/4 cup butter melted
- 2 cups graham crackers crushed
- 2 cups powdered sugar
- 1 1/4 cup creamy peanut butter
Topping
- 2 1/2 cups semi sweet chocolate chips
- 3 tablespoons creamy peanut butter
Instructions
- Prepare the Pan: Line a 9×9-inch baking dish with parchment paper, making sure to cover the bottom and sides for easy removal later. Set the dish aside.
- Make the Base Mixture: In a mixing bowl, combine the melted butter, powdered sugar, and crushed graham crackers using a stand mixer or hand-held mixer until well blended.
- Add Peanut Butter to Base: Mix in 1 ¼ cups of creamy peanut butter into the graham cracker mixture until it is just well incorporated and smooth.
- Press the Base: Evenly spread and press the peanut butter and crumb mixture into the bottom of the prepared baking dish to form a firm base layer.
- Melt Chocolate Topping: In a heat-safe bowl, combine the semi-sweet chocolate chips with the remaining 3 tablespoons of creamy peanut butter. Heat the mixture in 30-second intervals, stirring thoroughly after each interval until the mixture is smooth and creamy.
- Spread Chocolate Layer: Pour and evenly spread the melted chocolate and peanut butter mixture over the peanut butter base in the baking dish.
- Chill the Bars: Place the baking dish in the refrigerator and chill for 1 hour to allow the bars to set and firm up.
- Serve: Remove the bars from the refrigerator and let them sit at room temperature for 10 to 15 minutes before cutting into pieces and serving.
Notes
- Use parchment paper to easily lift the bars out of the pan without sticking.
- For a crunchier texture, substitute chunky peanut butter instead of creamy.
- Ensure the chocolate mixture is smooth by stirring well between heating intervals to prevent burning.
- Store bars in an airtight container in the refrigerator for up to one week.
- Allowing bars to come slightly to room temperature before serving improves the texture and flavor.
Nutrition
- Serving Size: 1 bar
- Calories: 280 kcal
- Sugar: 20 g
- Sodium: 120 mg
- Fat: 18 g
- Saturated Fat: 6 g
- Unsaturated Fat: 10 g
- Trans Fat: 0 g
- Carbohydrates: 24 g
- Fiber: 2 g
- Protein: 6 g
- Cholesterol: 20 mg
