Spooky Halloween Chocolate Covered Oreos Recipe
If you’re looking for a fun, festive treat that will wow your friends and family this October, you’ve got to try my Spooky Halloween Chocolate Covered Oreos Recipe. These little bites of chocolatey goodness are not only adorable but downright delicious, and once you get the hang of dipping and decorating, it’s almost addictive making them! I’ve made them every year since discovering how simple and satisfying they are—trust me, you’ll enjoy every step as much as the final result.
Why This Recipe Works
- Simple ingredients: You only need a handful of pantry staples and Oreos to create a show-stopping treat.
- Fun and customizable: Different colors and spooky sprinkles let you get creative for Halloween decor.
- No baking required: Perfect for last-minute treat-makers or when you want a fast festive fix.
- Kid-friendly process: Dipping and decorating make this a fun family activity for all ages.

Ingredients & Why They Work
This Spooky Halloween Chocolate Covered Oreos Recipe relies on simple ingredients that when combined, give you the perfect balance of creamy chocolate, crisp cookie, and festive flair. The candy melts make dipping easy and colorful without fuss, and I always recommend little treats like candy eyeballs to really bring that seasonal vibe to life.
- Oreos: The classic cookie base — sturdy and delicious, these are the real MVPs for this recipe.
- White candy melts or white chocolate: Perfect for a ghostly or mummy look and super smooth for coating.
- Orange candy melts: Adds that iconic Halloween color and pairs beautifully with chocolate.
- Chocolate chips or black candy melts: Gives a rich, dark coating option that lets you get creative with designs.
- Green candy melts: A fun pop of color to make your treats extra spooky and unique.
- Assorted Halloween sprinkles like candy eyes, sprinkles: These are what turn your dipped Oreos into adorable monsters, mummies, and spooky critters!
Tweak to Your Taste
I love making these Spooky Halloween Chocolate Covered Oreos Recipe with all the classic colors, but sometimes I switch things up depending on the mood or who I’m sharing with. Play with the colors and add your own sprinkle combos — that’s the best part about this recipe, how flexible it is!
- Variation: One year, I used purple and green candy melts for a creepy witchy vibe — it was a hit at my kiddos’ school party.
- Dietary modifications: If you want to make it dairy-free, just look for dairy-free candy melts and Oreos (some batches are naturally vegan!).
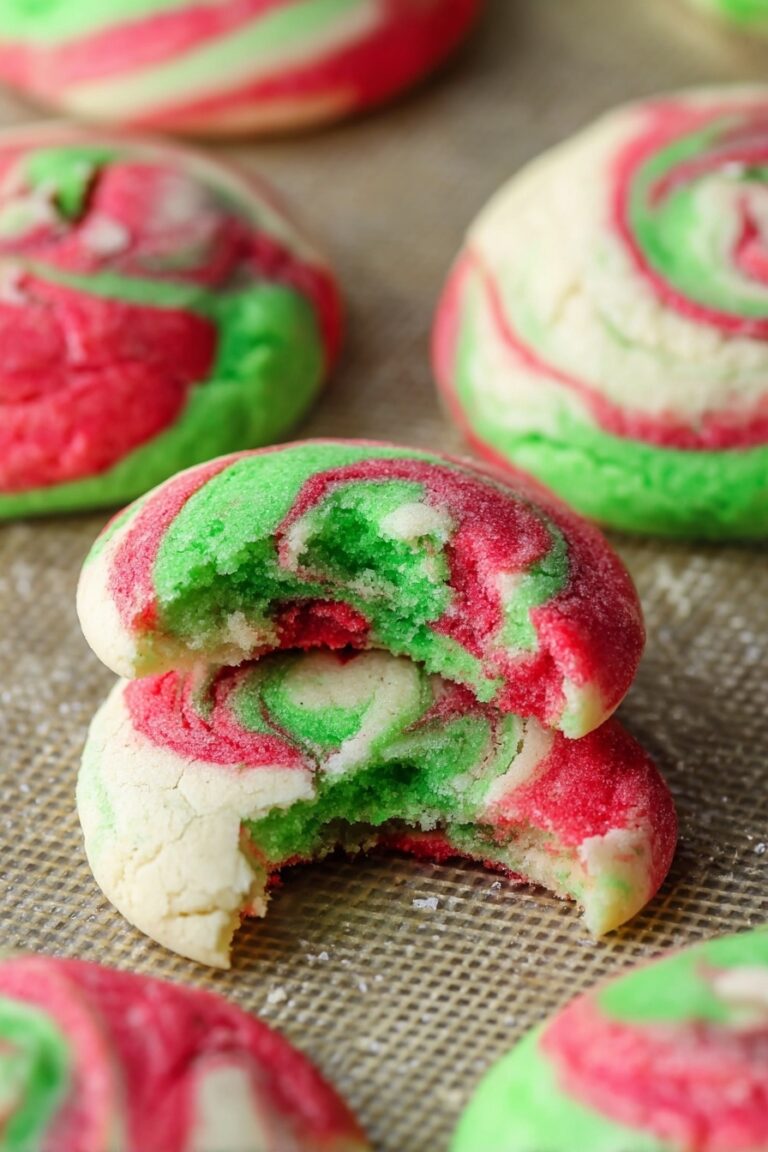
- Seasonal change: You could swap Halloween sprinkles for Valentine’s or Christmas-themed ones to repurpose this idea anytime.
Step-by-Step: How I Make Spooky Halloween Chocolate Covered Oreos Recipe
Step 1: Prepare Your Workspace and Chocolate
First, line a baking sheet with parchment paper — trust me, this saves you from a sticky mess later! Then, melt the candy melts or chocolate you’ll start with in a microwave-safe bowl. I like to melt one color at a time in 30-second bursts, stirring in between so you get smooth, lump-free chocolate ready for dipping.
Step 2: Dip the Oreos Like a Pro
Use a chocolate dipping fork or a regular fork (I’ve done both!) to fully submerge each Oreo in the melted candy. Flip it around to coat both sides evenly. Then lift and gently tap the fork against the side of the bowl to let excess chocolate drip off—too much makes them messy, too little means gaps. Place the Oreo carefully on your parchment-lined tray.
Step 3: Decorate with Your Spooky Touches
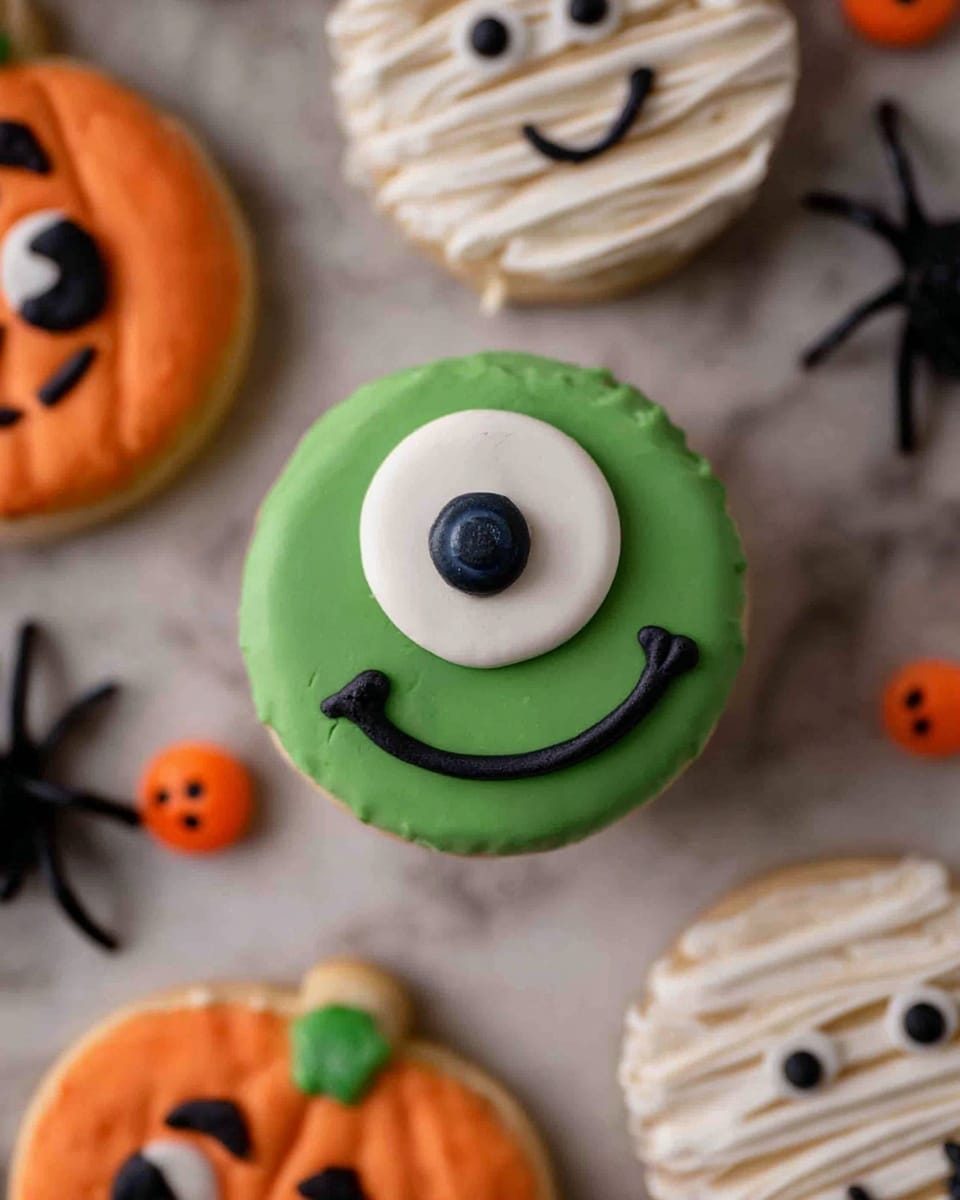
This is where your creativity really shines. For the mummy Oreos, dip in white candy melts, press on candy eyeballs while still wet, chill to set, then drizzle more white chocolate on top for that wrapped look before chilling again. Sprinkle some eyeballs or Halloween sprinkles on orange or black dipped Oreos immediately after dipping, and watch your spooky creations come alive!
Step 4: Chill and Set
After decorating, pop your baking sheet in the fridge for about 15-20 minutes to let the chocolate harden perfectly. This will give you that satisfying snap when you bite in, and keep all decorations firmly in place.
Pro Tips for Making Spooky Halloween Chocolate Covered Oreos Recipe
- Use high-quality candy melts: They melt smoother and coat better, making your Oreos look professional and delicious.
- Work quickly with decorations: Add eyeballs and sprinkles while the chocolate is still wet to ensure they stick perfectly.
- Keep your dipping forks handy: I keep an extra fork for tapping off excess chocolate so my hands stay cleaner and Oreos don’t get too thick a layer.
- Don’t rush chilling: Let the Oreos fully harden in the fridge to avoid melted decorations smudging when stacked or served.
How to Serve Spooky Halloween Chocolate Covered Oreos Recipe
Garnishes
I’m a sucker for candy eyeballs on these—it instantly elevates the spooky factor and makes them almost too fun to eat! I also sprinkle some edible glitter or tiny black and orange sprinkles for added charm. If you want, try piping little spider webs with black icing for that extra WOW moment.
Side Dishes
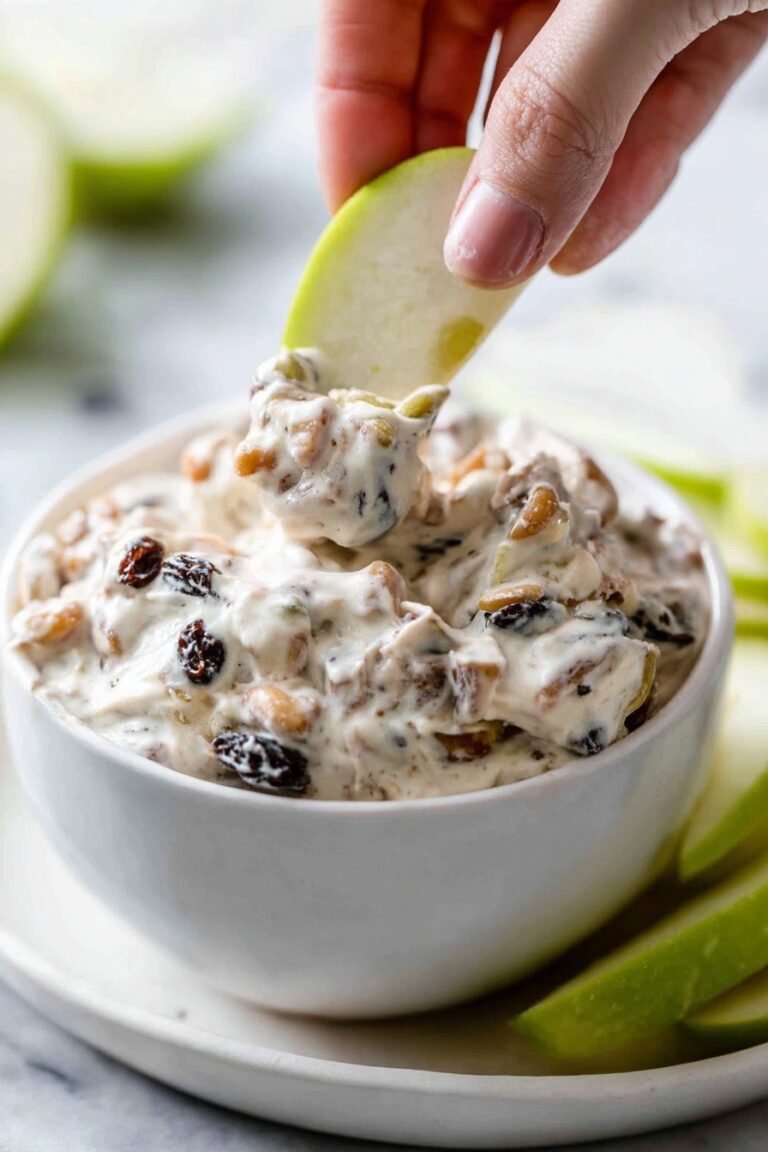
Pair these chocolate-covered Oreos with a warm pumpkin spice latte or a cold glass of milk for a perfect party combo. For Halloween parties, I like setting out bowls of candy corn, caramel apples, and mini cupcakes alongside for a full festive spread.
Creative Ways to Present
One year, I displayed them standing upright in a foam block covered with black tissue paper, each Oreo on a toothpick “lollipop” stick—that got rave reviews and made cleanup so much easier. You can also arrange them on tiered trays or stack on a platter decorated with fake spider webs and plastic spiders for a spooky table centerpiece.
Make Ahead and Storage
Storing Leftovers
Once chilled and set, I keep mine in an airtight container layered between parchment paper in the fridge—they stay fresh and crisp for up to a week. If you’re serving soon, you can leave them at room temperature in a cool, dry place for a couple of days without issues.
Freezing
I’ve frozen these dipped Oreos for up to a month by placing them in a single layer on a baking sheet first, then transferring to a freezer-safe container. Just thaw them in the fridge overnight before serving to keep that perfect texture.
Reheating
These Oreos really don’t need reheating, but if the chocolate looks dull after storage, a quick 5-10 second zap in the microwave on low can bring back a gentle shine—just be careful not to melt the candy melts entirely!
FAQs
-
Can I use regular chocolate instead of candy melts for this Spooky Halloween Chocolate Covered Oreos Recipe?
Absolutely! You can use tempered chocolate or chocolate chips. Just keep in mind candy melts are specially formulated to melt smoothly and harden with a shiny finish without tempering, making the dipping process easier. If using regular chocolate, temper it properly for the best results.
-
How do I prevent the chocolate from cracking on the Oreos?
Chocolate sometimes cracks if dipped Oreos are handled too roughly or if the coating is too thick and cold. Make sure to tap off excess chocolate, chill gently without stacking, and handle with care when decorating or packaging to keep your treats looking flawless.
-
What’s the best way to decorate Oreos for a spooky Halloween theme?
I love using candy eyeballs, orange and black sprinkles, and piping melted candy melts to create spider webs or mummy wraps. These simple additions quickly make Oreos look fun and festive without needing advanced decorating skills.
-
Can kids help make this recipe?
Definitely! Kids can help dip Oreos, add sprinkles, and press on candy eyes, making this a perfect hands-on Halloween activity. Just handle the hot melted candy yourself or supervise closely during melting.
-
How long do these chocolate covered Oreos last?
Stored in an airtight container in the fridge, these treats stay fresh for up to a week. For longer storage, freezing is a great option without compromising taste or texture after thawing.
Final Thoughts
I honestly look forward to making this Spooky Halloween Chocolate Covered Oreos Recipe every year—it’s become a beloved tradition in my house, bringing laughter, creativity, and of course, a whole lot of sweet enjoyment. Whether you’re throwing a Halloween party or just want to surprise your family with a seasonal treat, these Oreos hit all the right notes. Give them a try—you’ll be so glad you did, and the smiles around your kitchen are guaranteed!
Print
Spooky Halloween Chocolate Covered Oreos Recipe
- Prep Time: 20 minutes
- Cook Time: 0 minutes
- Total Time: 20 minutes
- Yield: 36 servings
- Category: Dessert
- Method: No-Cook
- Cuisine: American
Description
Celebrate Halloween with these spooky chocolate covered Oreos decorated with festive candy melts and assorted Halloween sprinkles. Perfect for parties or treats, these easy-to-make cookies feature white, orange, chocolate, and green candy coatings with fun eyeball and sprinkle decorations.
Ingredients
Oreos
- 1 package (36 Oreos)
Candy Melts and Chocolate
- 6 oz white candy melts or white chocolate
- 6 oz orange candy melts
- 6 oz chocolate chips or black candy melts
- 6 oz green candy melts
Decorations
- Assorted Halloween sprinkles like candy eyes and festive sprinkles
Instructions
- Prepare Baking Sheet: Line a baking sheet with parchment paper and set it aside for the dipped Oreos to rest.
- Melt Candy Melts: In a microwave-safe bowl, melt one color of candy melts or chocolate at a time. Heat in 30-second increments, stirring in between, until smooth and fully melted.
- Dip Oreos: Using a chocolate dipping fork, dip each Oreo into the melted candy melt, flipping to coat both sides evenly. Lift the Oreo and tap the fork on the bowl edge to remove excess coating.
- Decorate and Chill: Place the dipped Oreo on the prepared baking sheet. Add festive decorations such as spooky candy eyes or sprinkles immediately after dipping. Chill in the refrigerator to set the coating.
- Special Mummy Design: For mummy Oreos, first dip in white candy melts and decorate with candy eyes. Chill to set, then drizzle melted white candy melts over the top to create a wrapped mummy effect. Chill again to allow the drizzle to harden.
- Repeat: Repeat the dipping and decorating process for all remaining Oreos with different candy melt colors and decorations.
Notes
- Melt each color of candy melts separately to avoid mixing colors and achieve clean coatings.
- Use a fork or dipping tool to easily coat and handle the Oreos without breaking them.
- Chilling the Oreos after dipping helps the candy melts harden quickly and keeps decorations in place.
- For a smoother finish, stir candy melts thoroughly after each microwave interval.
- Substitute candy melts with colored white chocolate if preferred, adjusting melting time accordingly.
Nutrition
- Serving Size: 1 Oreo
- Calories: 150 kcal
- Sugar: 20 g
- Sodium: 70 mg
- Fat: 7 g
- Saturated Fat: 3.5 g
- Unsaturated Fat: 3 g
- Trans Fat: 0 g
- Carbohydrates: 22 g
- Fiber: 1 g
- Protein: 1 g
- Cholesterol: 0 mg


